| My First
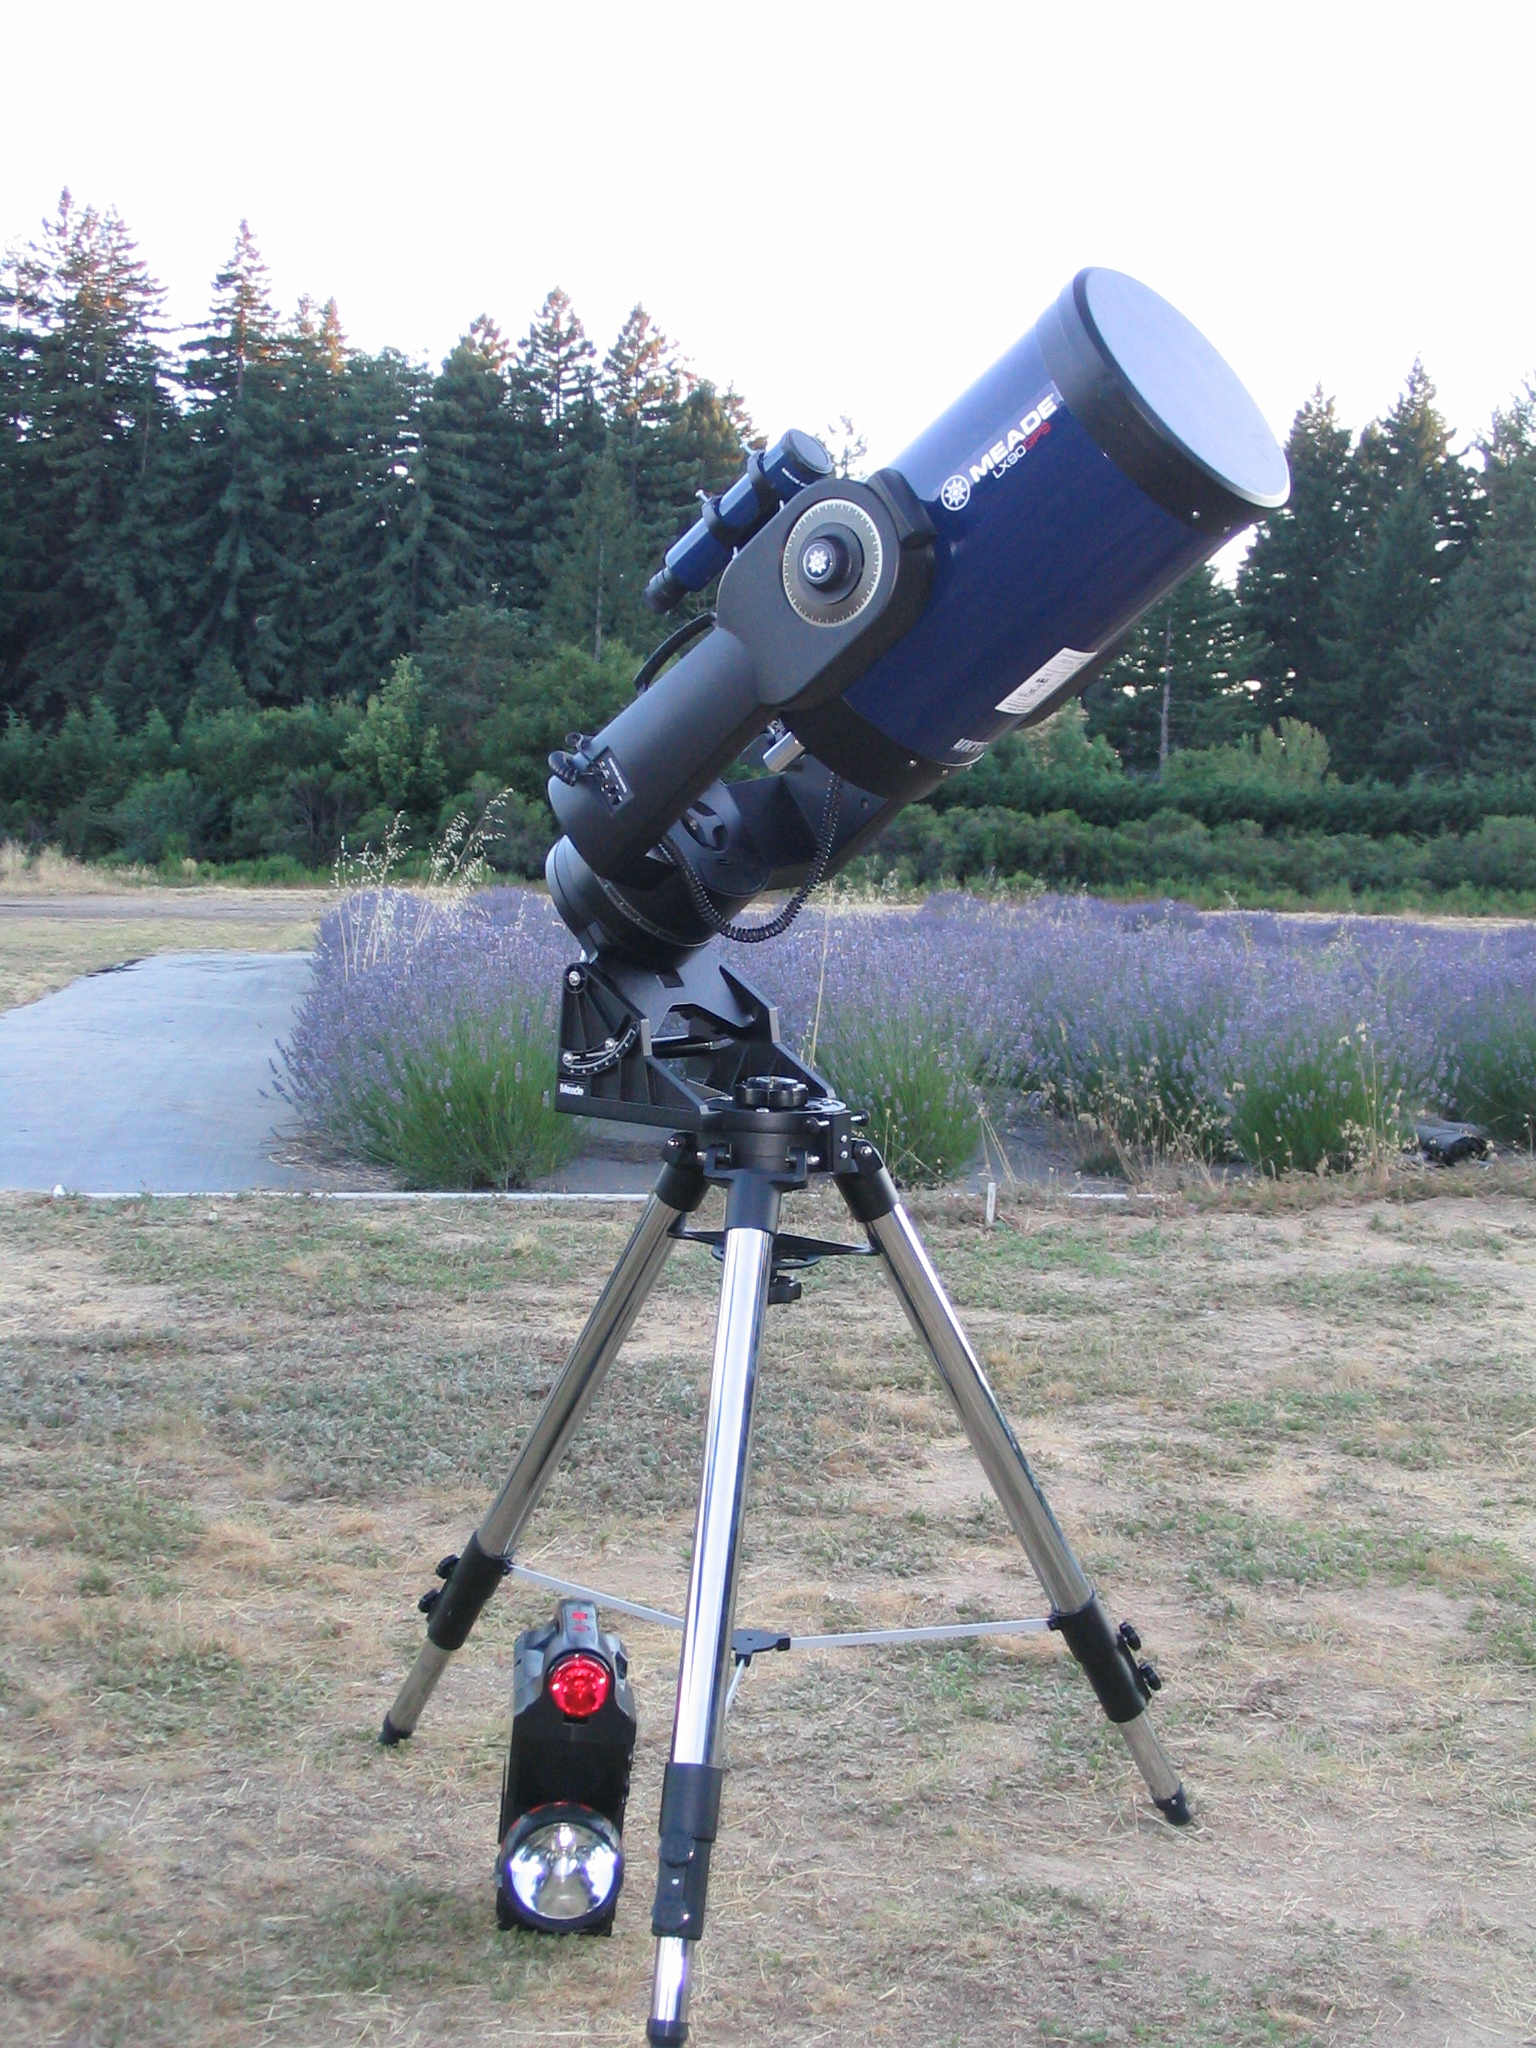
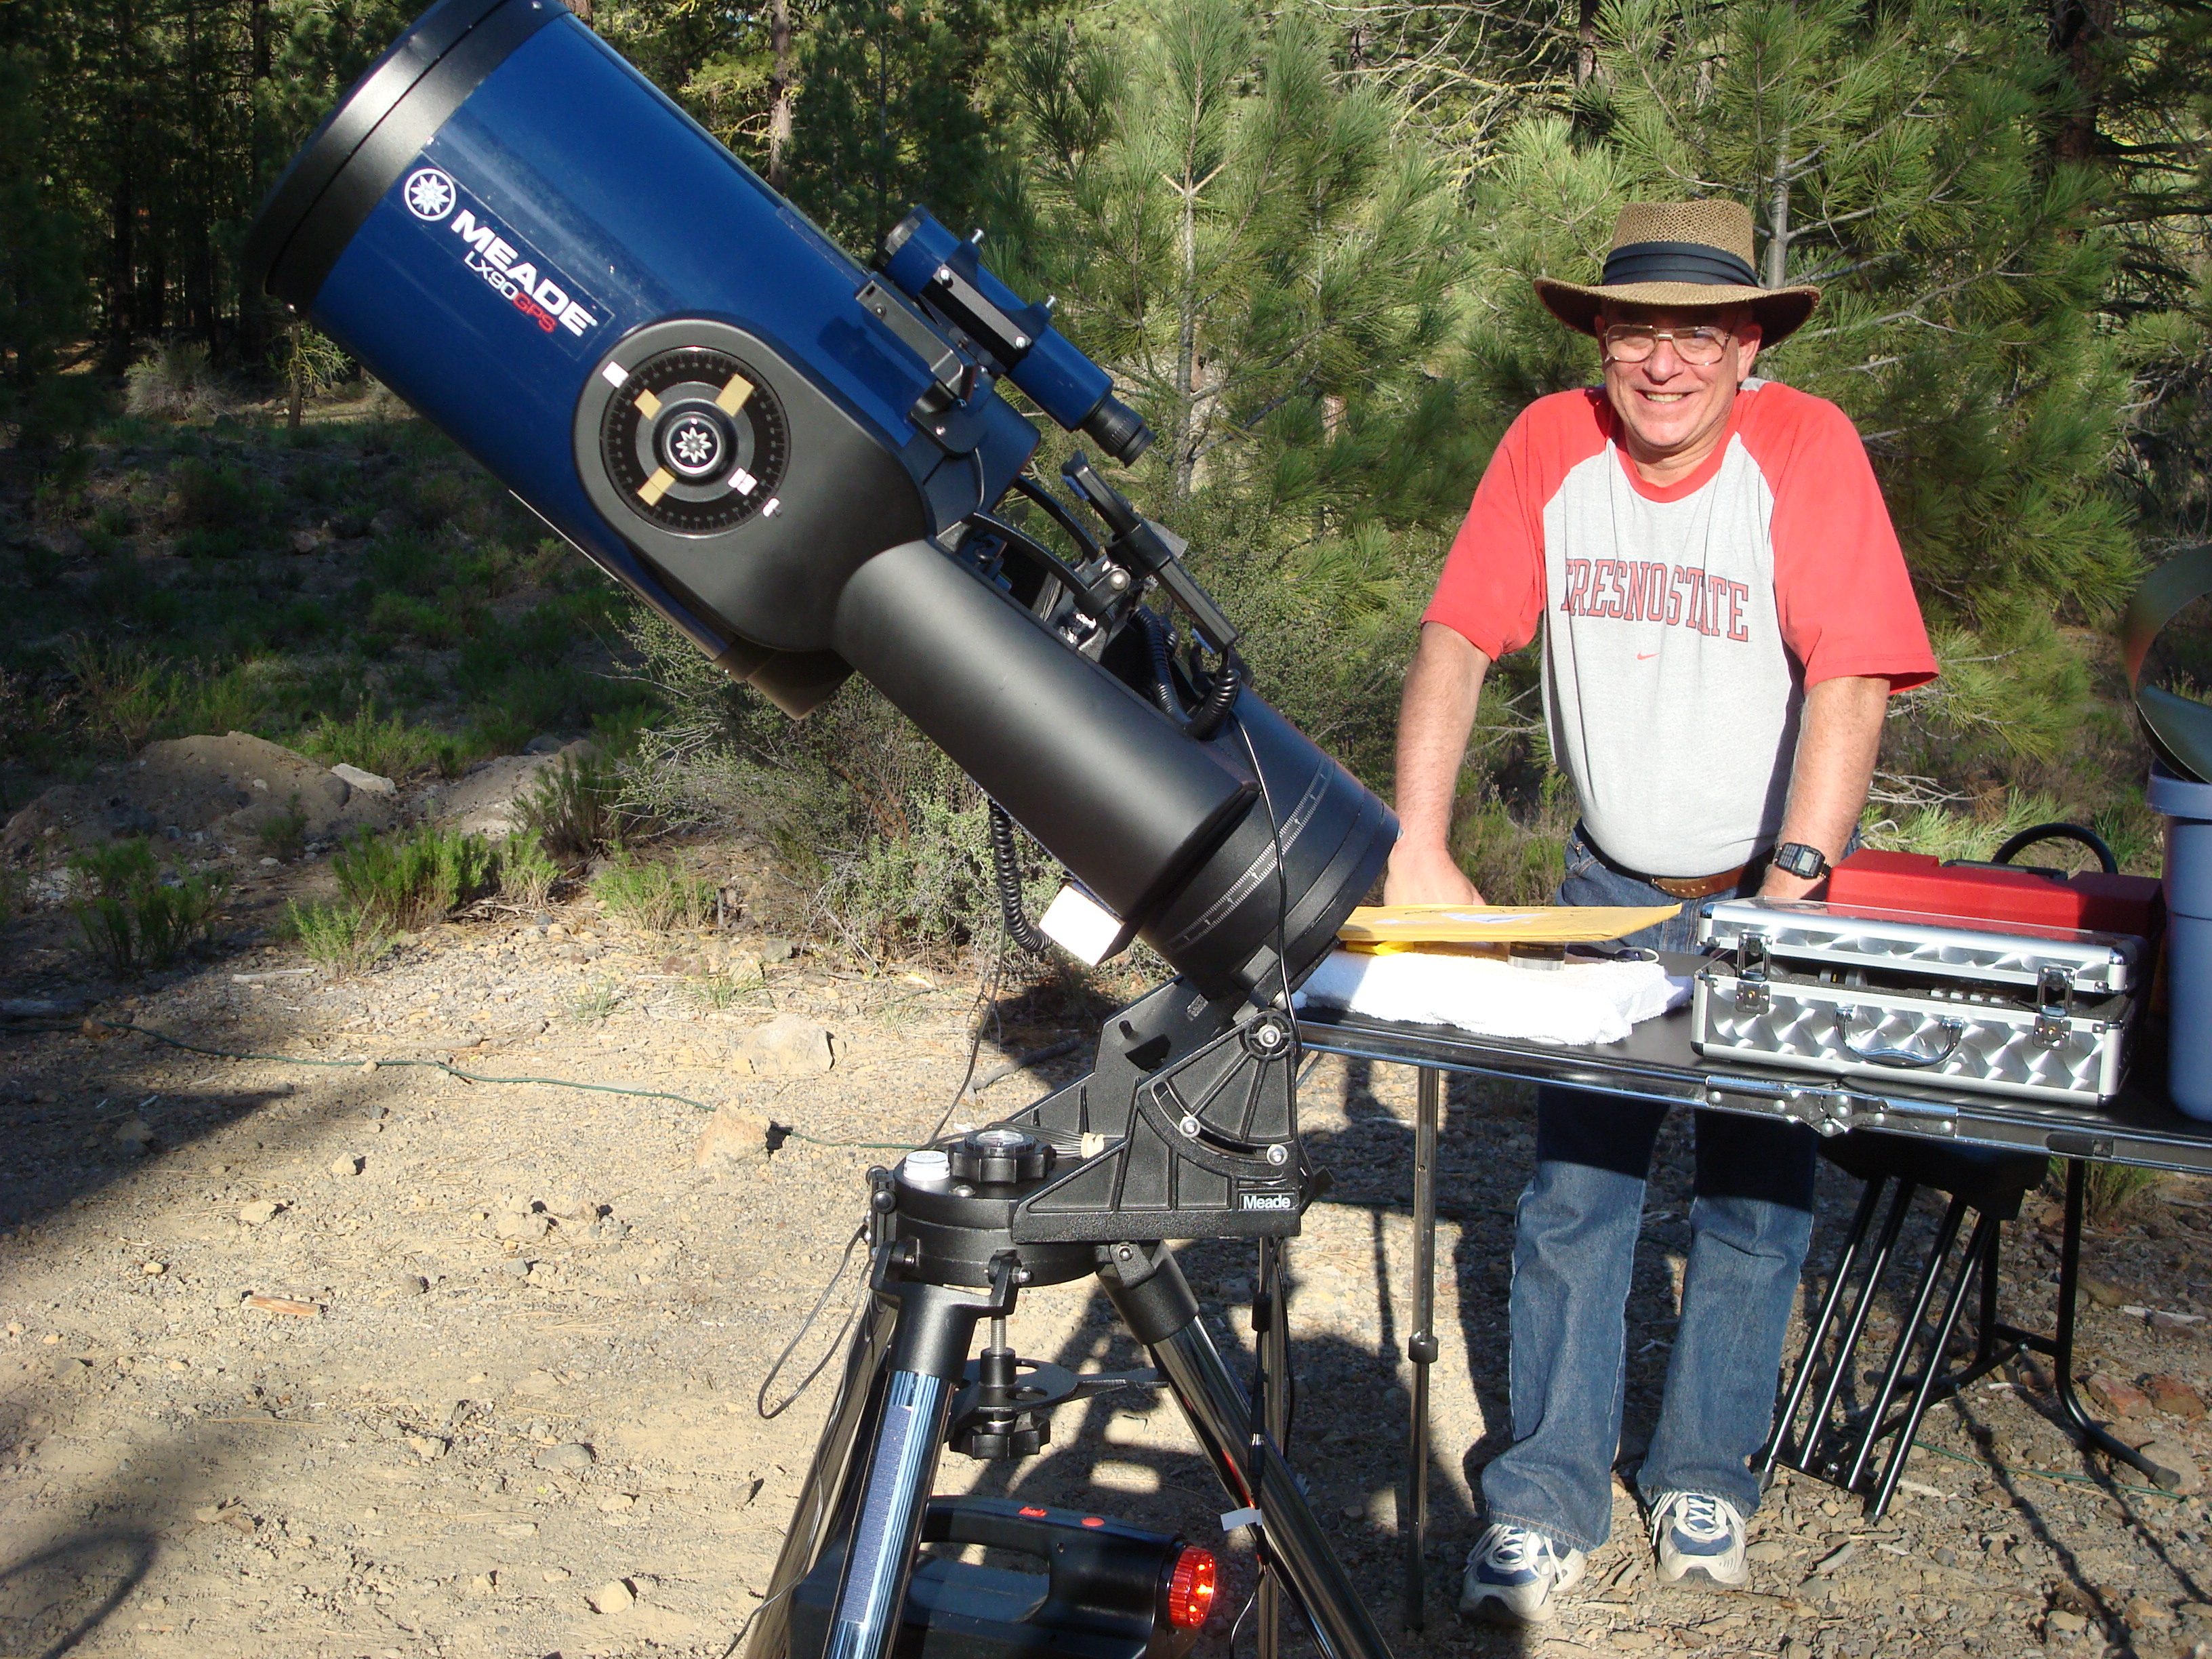
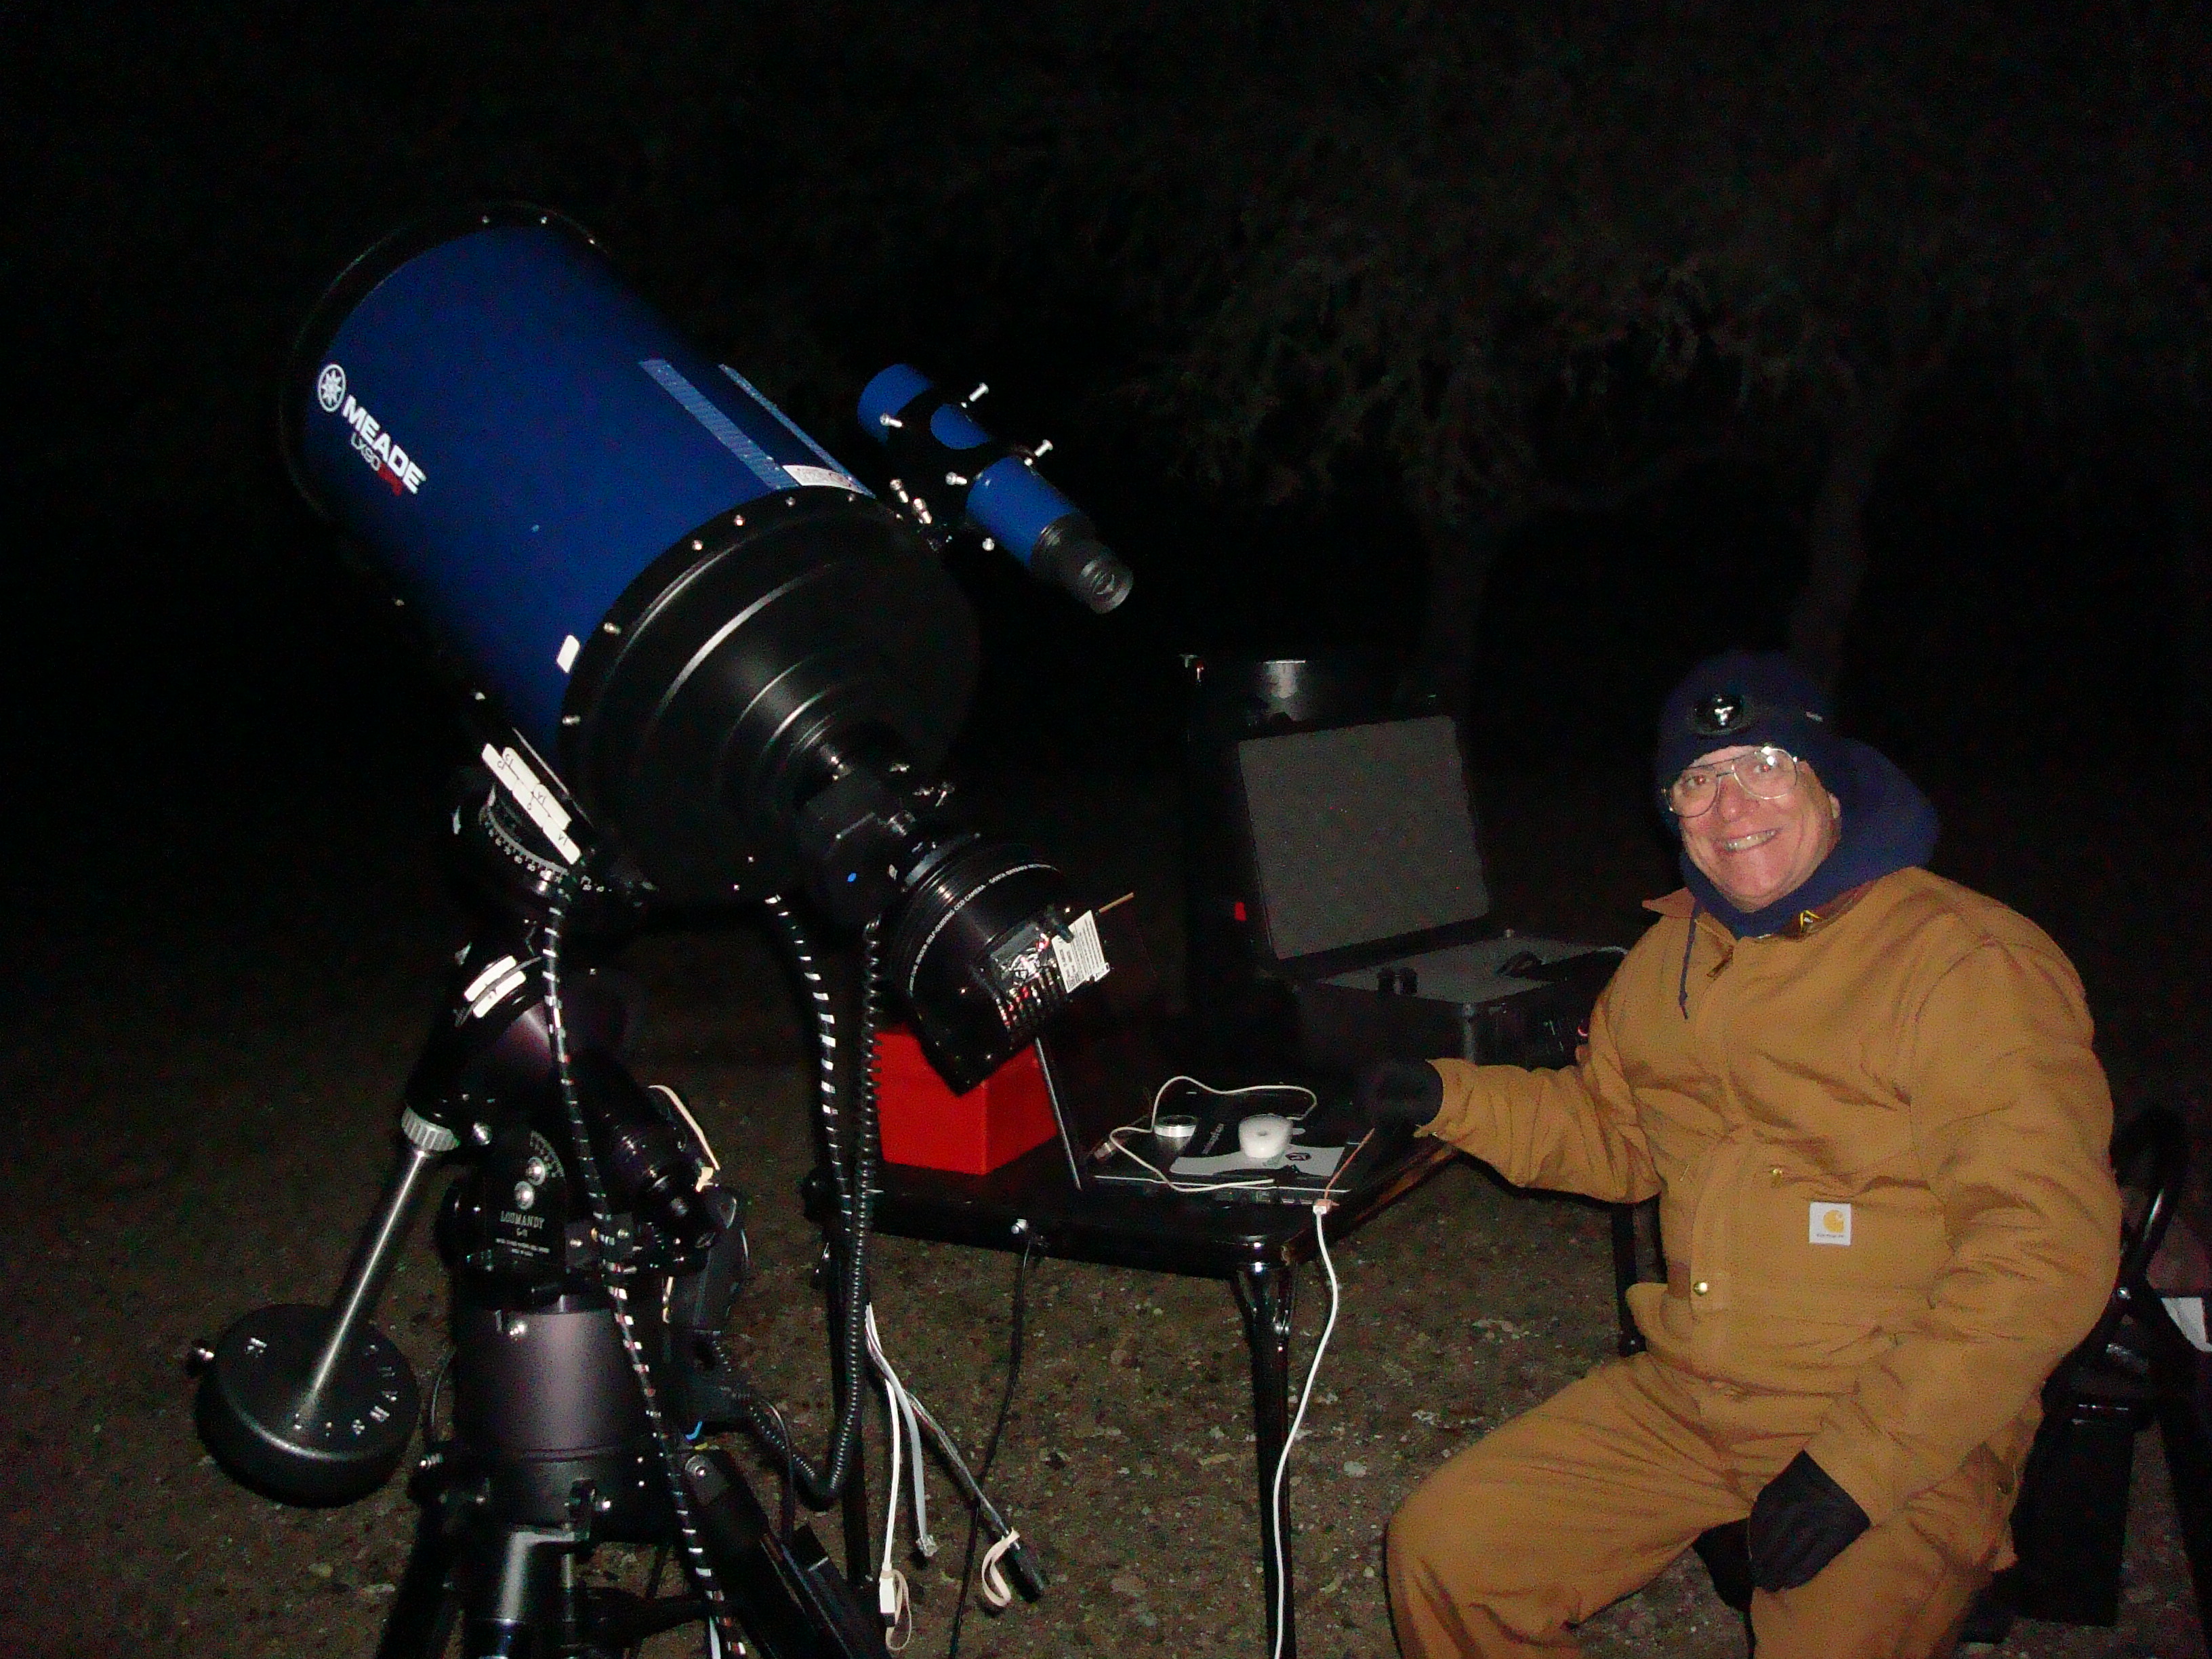
Telescope and Mount My first telescope and mount was a 10" f/10 Meade LX90 GPS Schmidt-Cassegrain on an Alt/AZ mount (Altitude/Azimuth). I put it on a wedge to make it into an equatorial mount as I started to learn astro photography. The scope came with a Meade DSI One-Shot-Color camera. |
Hat Creek Field
Trip - May 2009 Here is a shot of My Meade 10" SCT mounted on the original Alt/AZ fork with the whole thing on a wedge. The wedge tips one axis so that it is aligned parallel with the Earths' north-south axis (Right Ascension). When aligned precisely to the North Celestial Pole only the other axis (Declination) needs to make corrections during astro photography. This is how an equatorial mount works. Another advantage to an equatorial mount is that there is no field rotation as the imaged object moves across the sky. This picture was taken at Hat Creek Campground east of Redding and not far from Adin where the annual Golden State Star Party is held. There were a number of us on an astronomy field trip with Dr. Rick Nolthenius from Cabrillo College. |
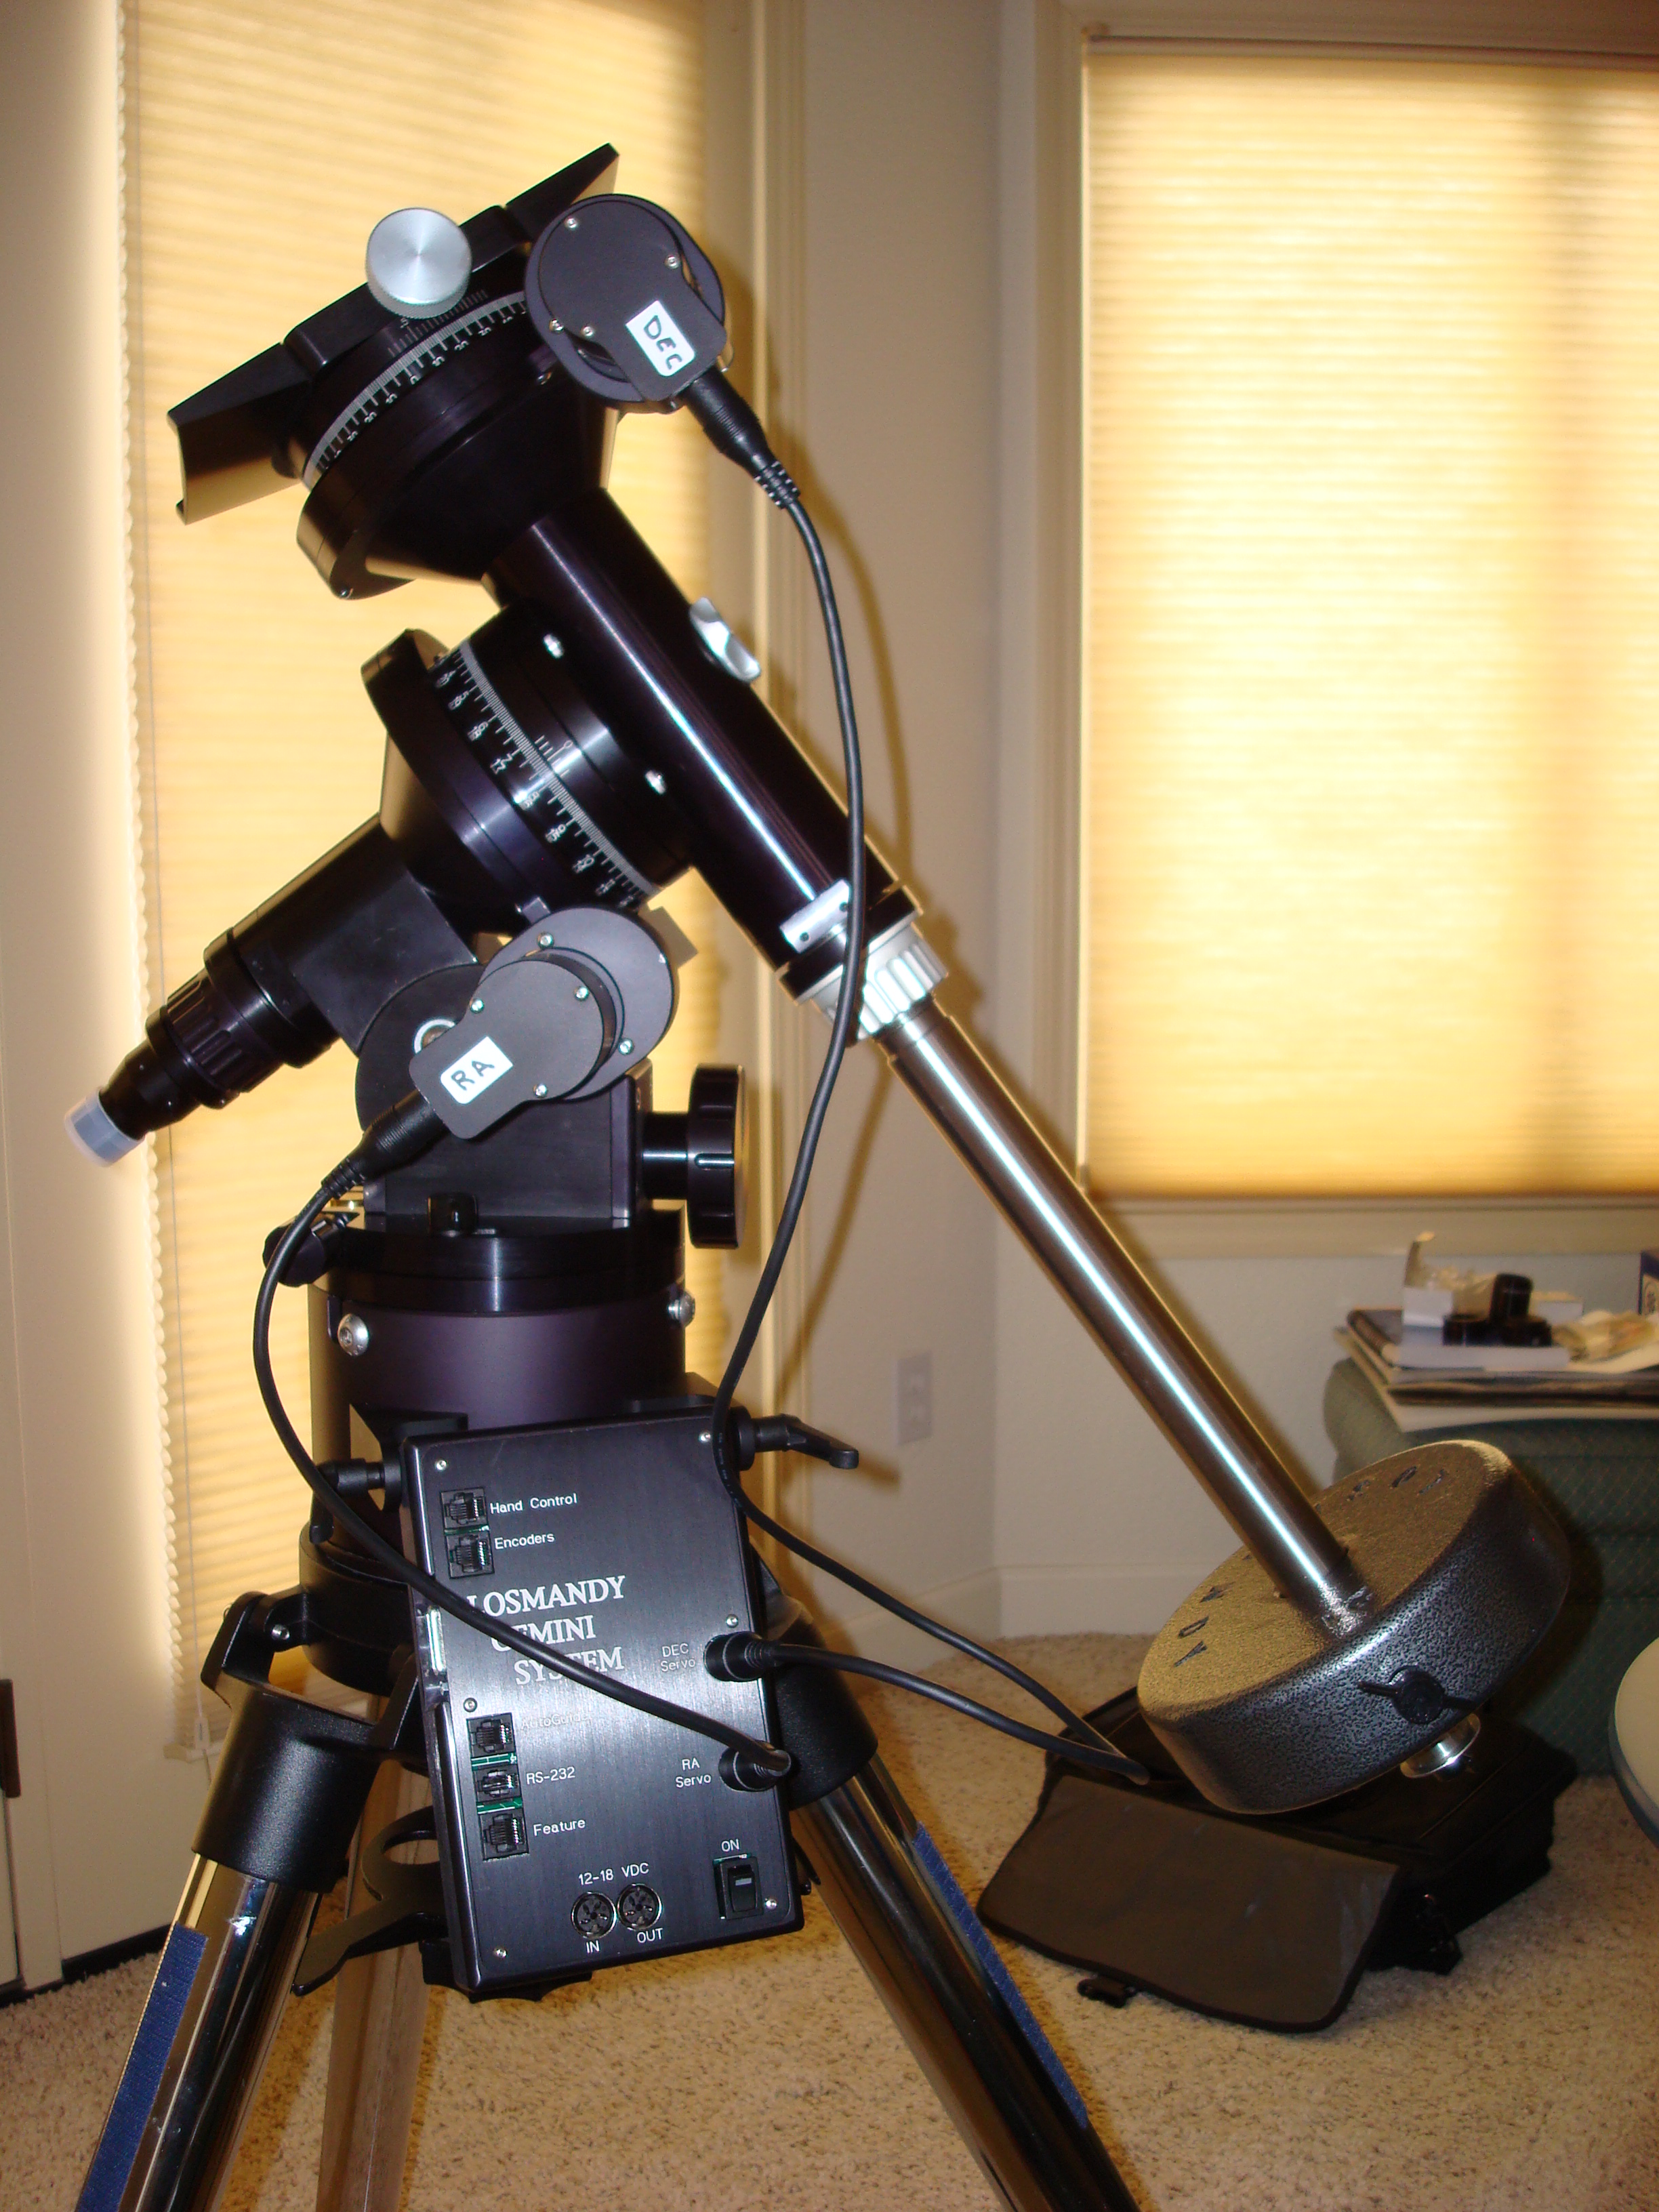
Losmandy G11 The Meade 10" telescope on an Alt/AZ mount just wasn't what I needed for the imaging I wanted to do, so I upgraded to the Losmandy G11 equatorial mount with the Gemini-1 Go-To system and put the Meade 10" on top. |
 |
 |
 |
| Setting Up the
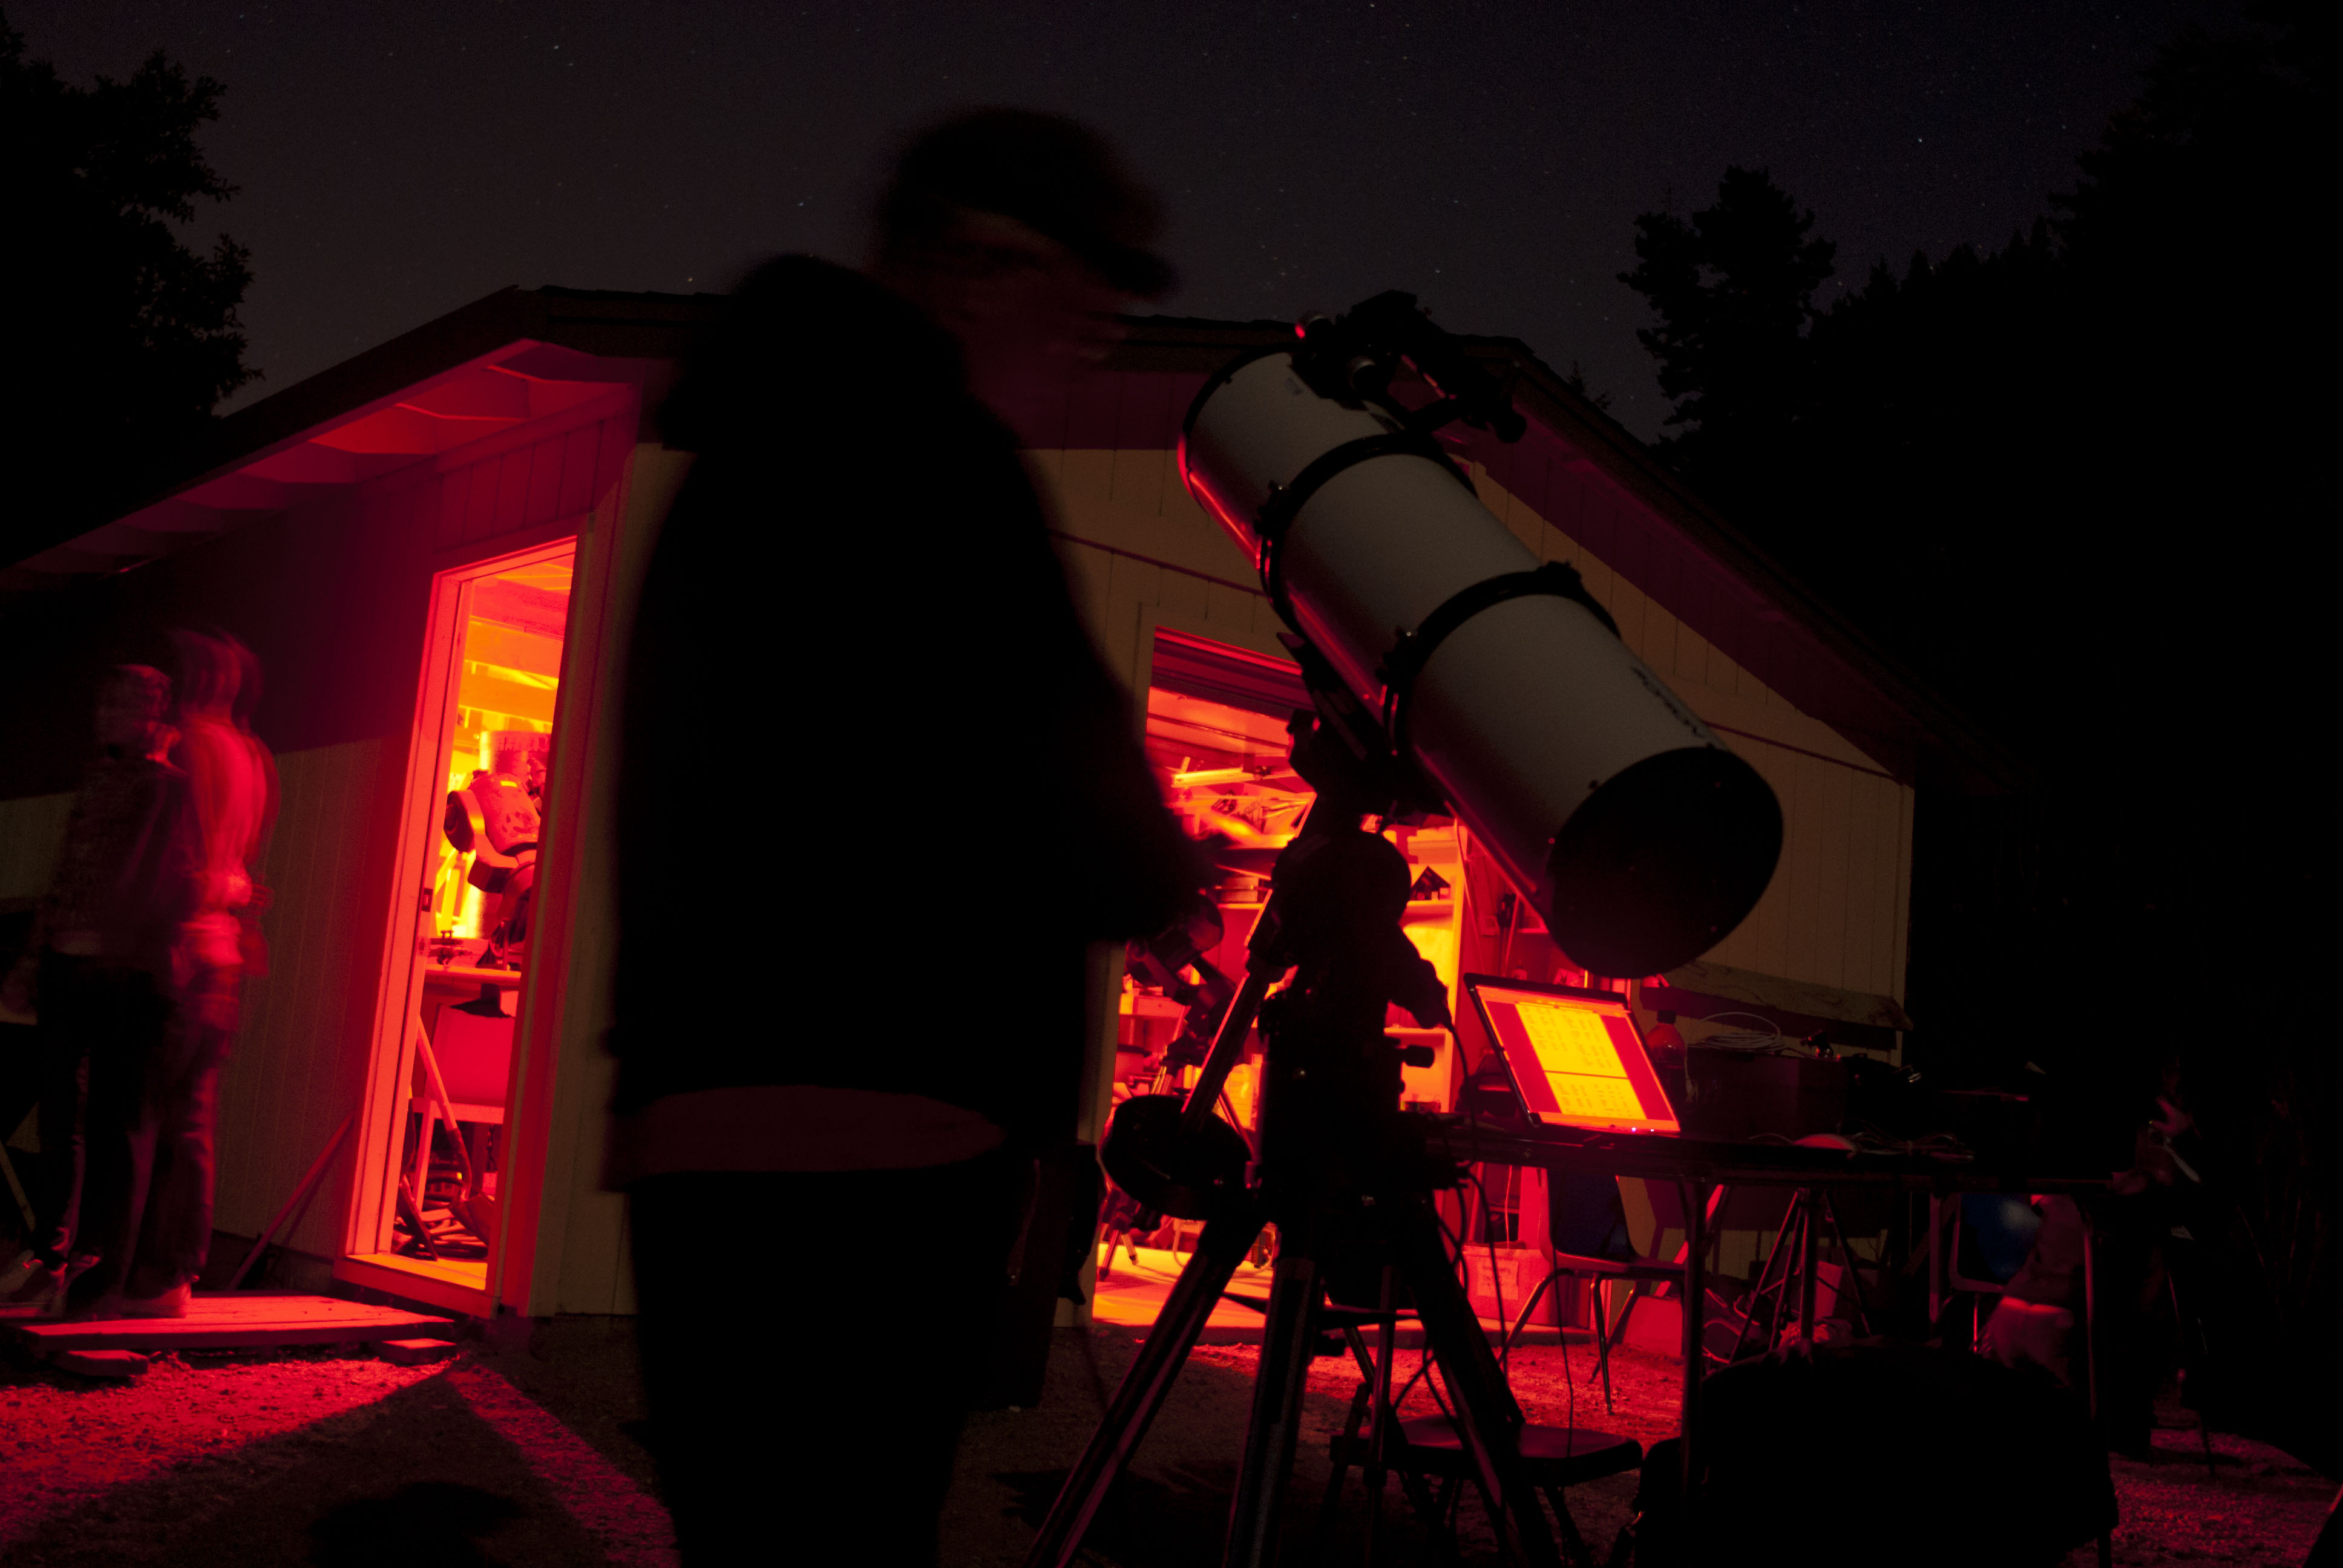
Orion 190mm Mak/Newt This is the only picture I have of my Orion 190mm f/5.3 Mak/Newt telescope. I put this on the Losmandy mount for wider field images. Jonathan took this picture of me at the Cabrillo College Observatory in September of 2010. I was taking the advanced imaging class from Dr. Rick Nolthenius. This image is the property of Jonathan C. Thanks Jonathan! |
Imaging at Lake
San Antonio February 2011 By Feb. 2011 I had a pretty good rig. The Losmandy G11 Go-To mount, the Meade 10" f/10 SCT, a Meade electric focuser and an SBIG ST-4000xcm One-Shot-Color Self-Guiding Cooled camera. I was switching between the Meade and the Orion telescopes. |
Astro-Physics
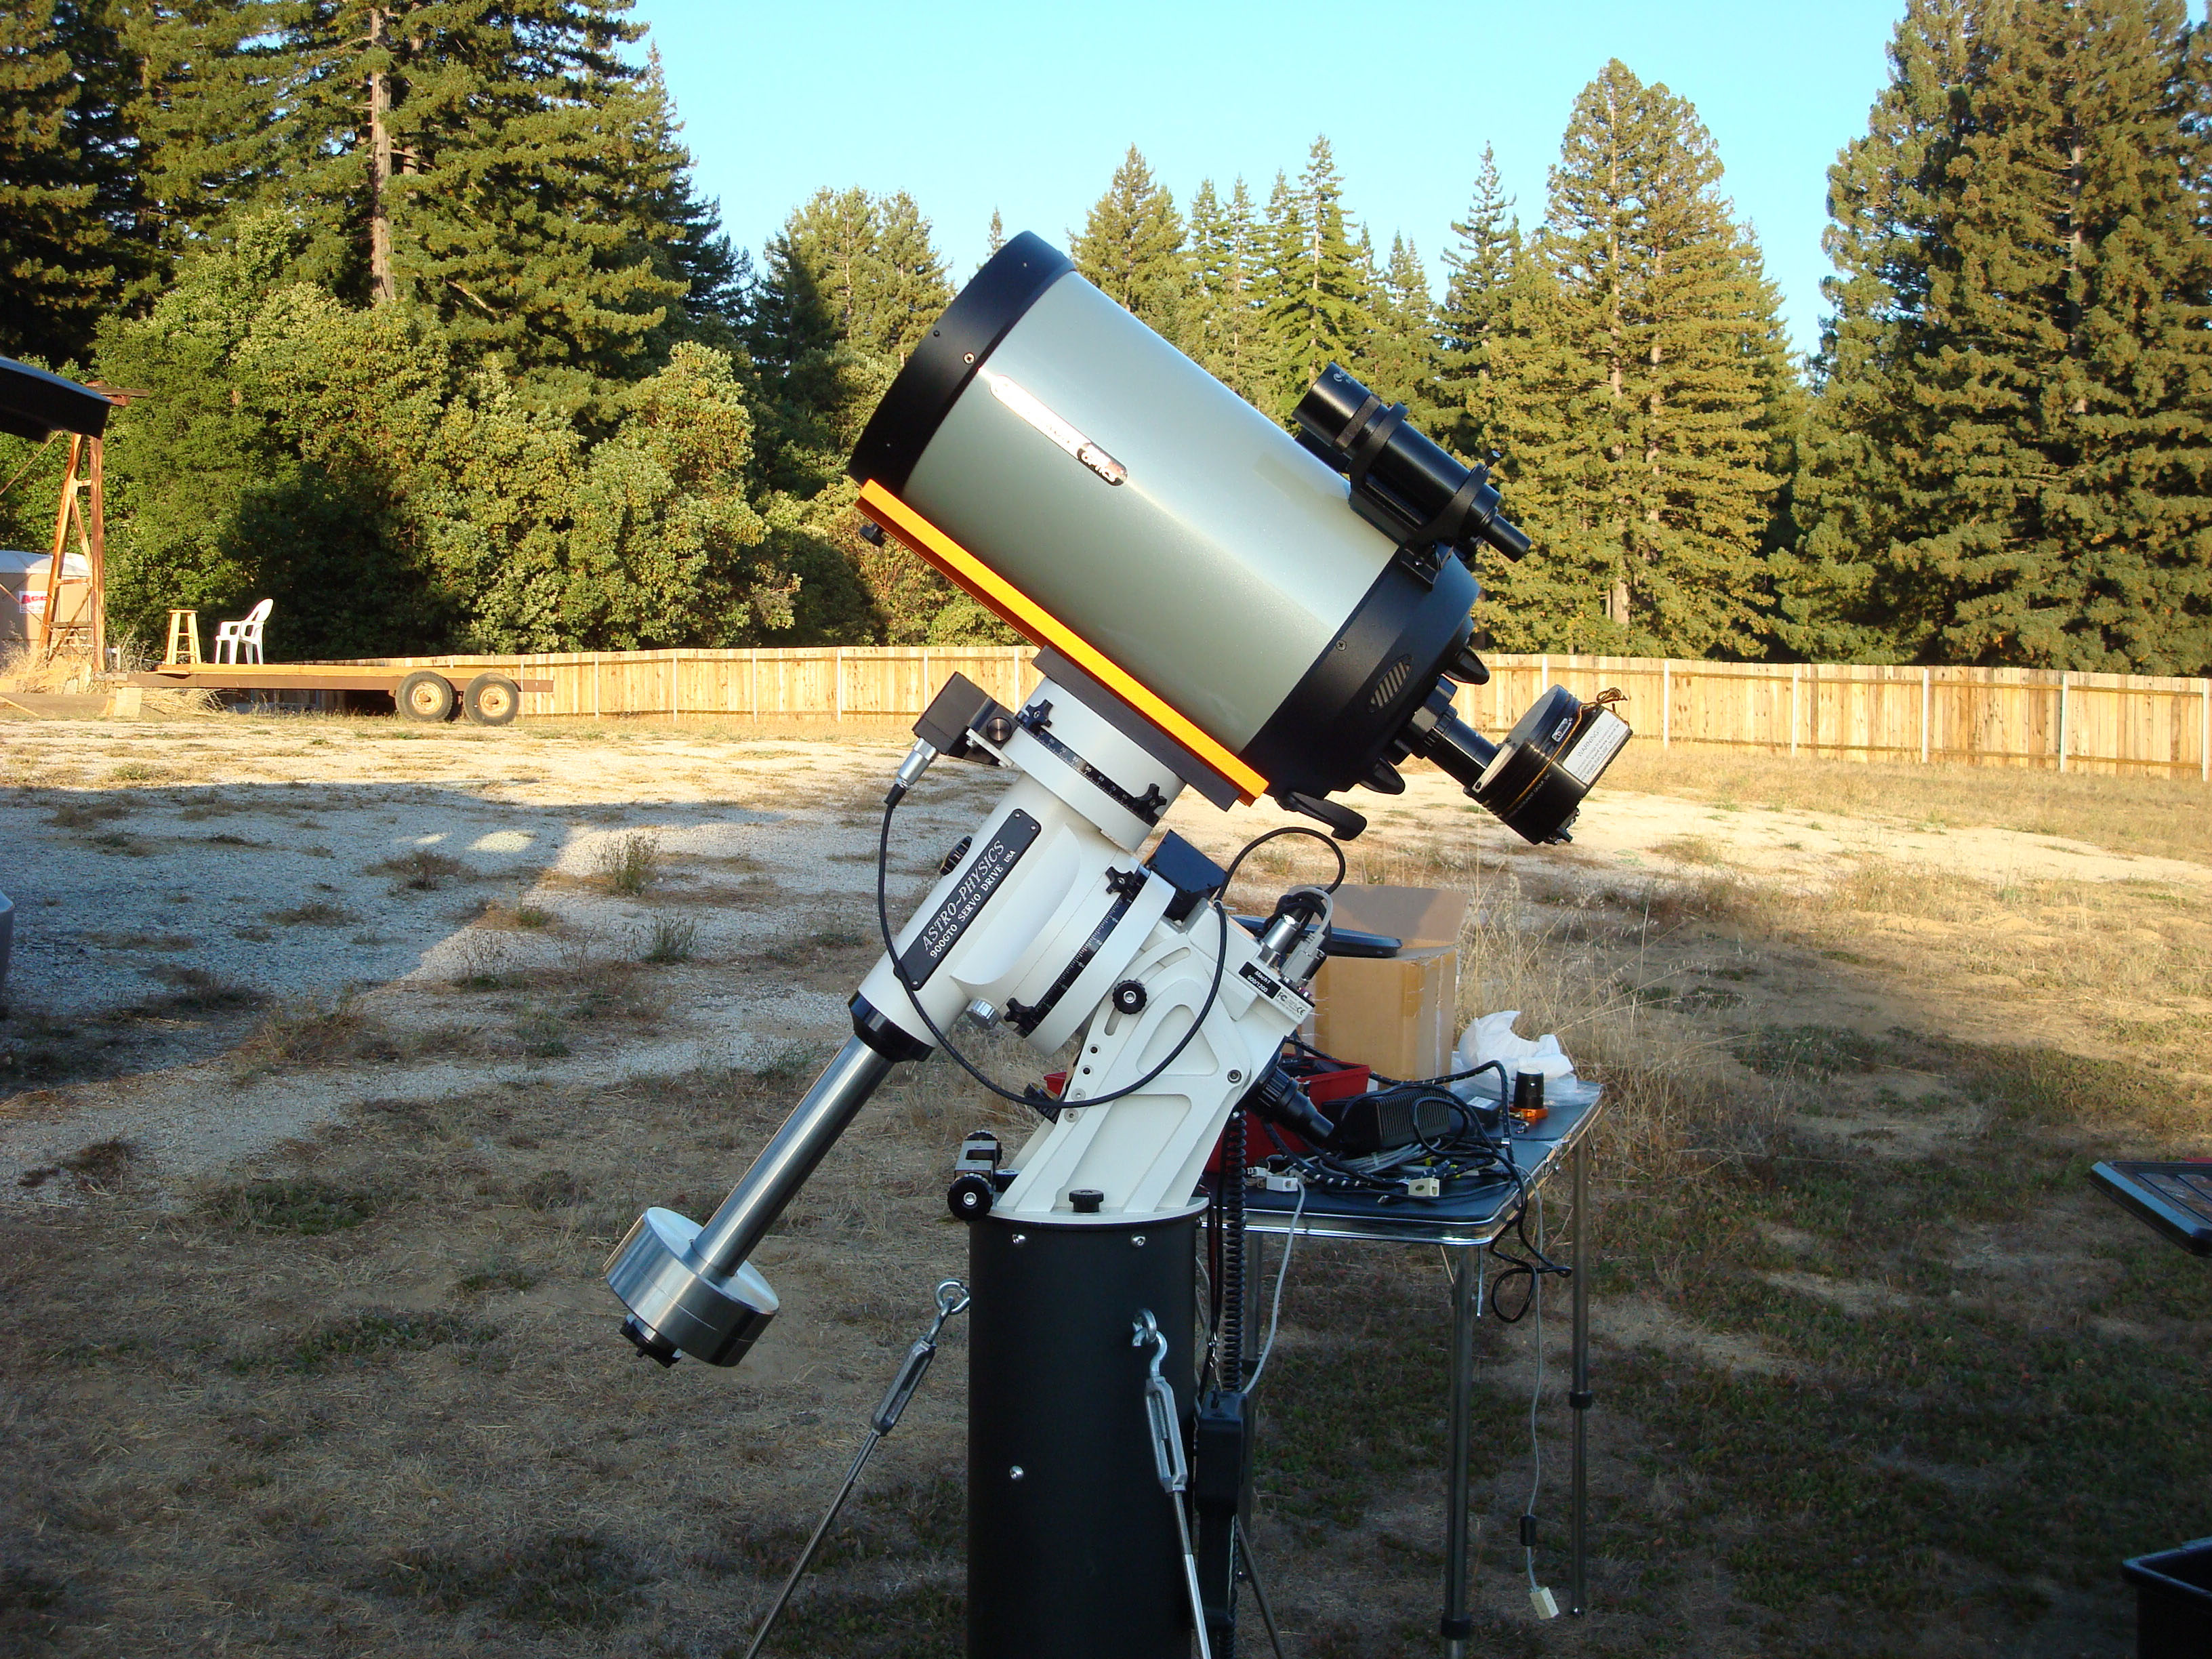
Mount and Celestron Telescope The AP 900 GTO is the mount I wish I could have started with. Really awesome! It's a Go-To mount that tracks and guides exceptionally well. I was also able to upgrade my telescope as well. The Celestron 9.25" f/10 EdgeHD is a fantastic telescope that was designed to have a flat field across the entire field of view. Very little coma, which makes for much rounder stars! It's great for imaging smaller objects since it has a longer focal length and narrower field of view than the Orion 8". |
 |
 |
 |
| Explore Scientific Guide
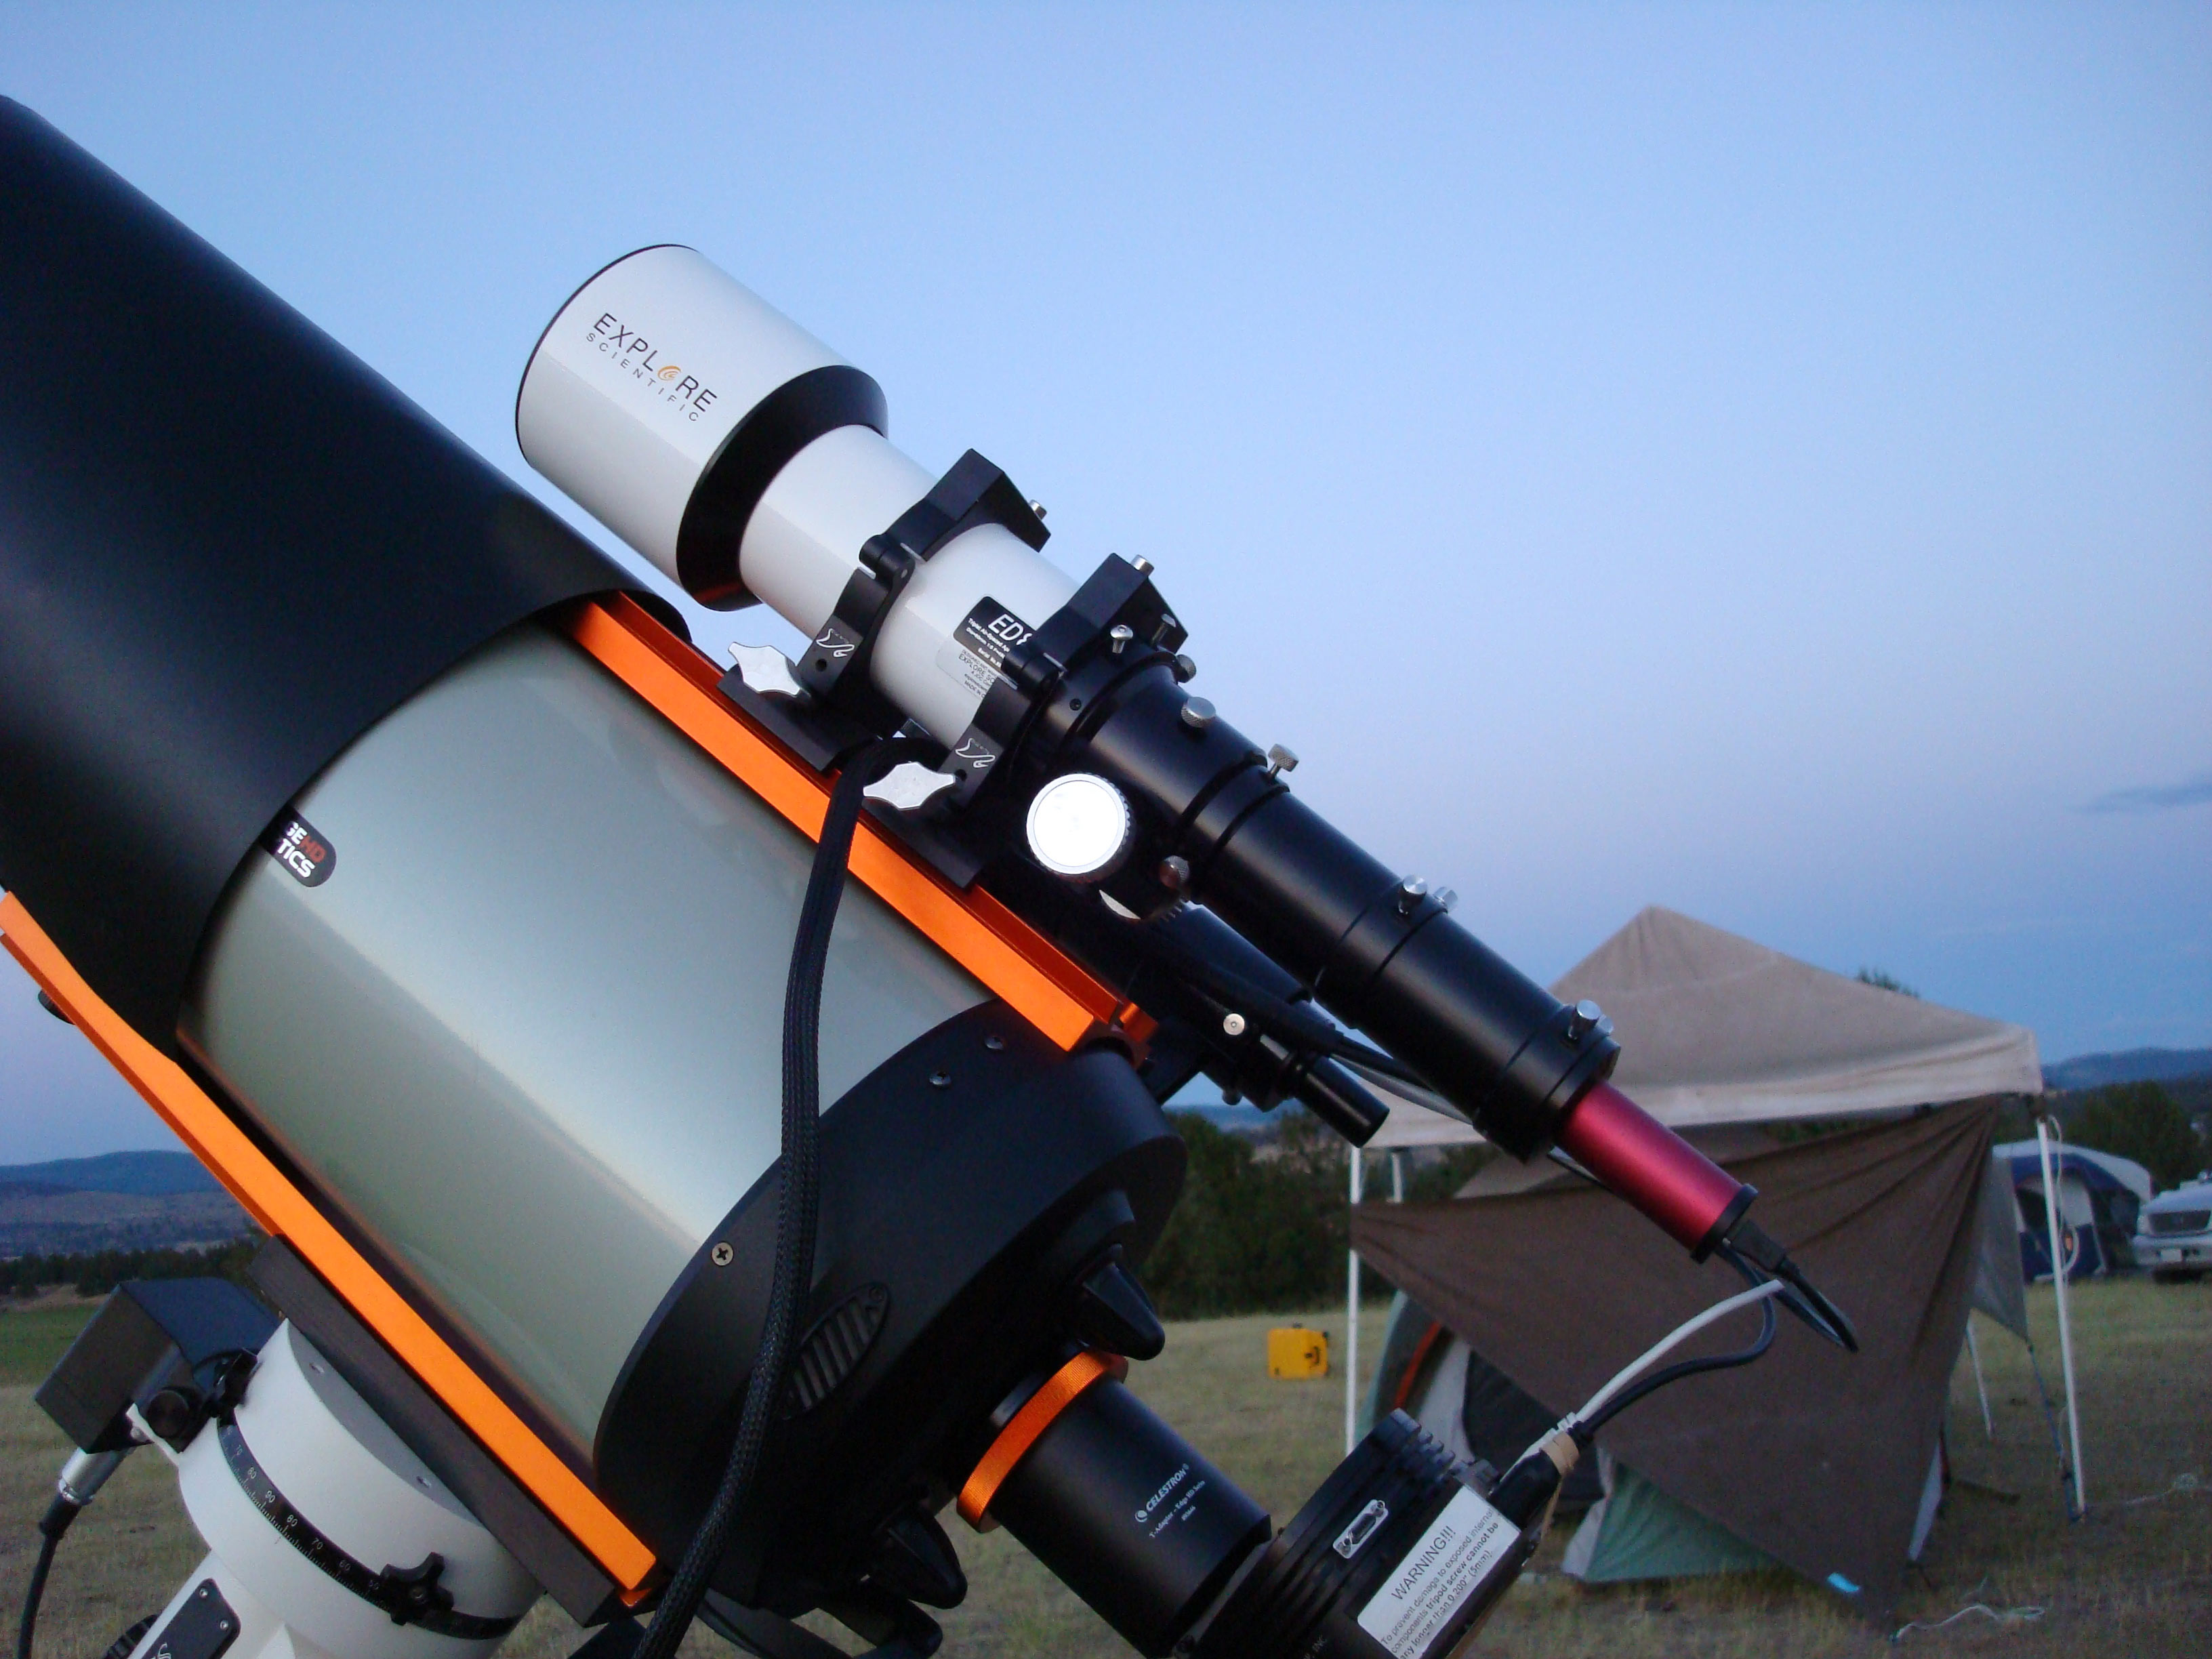
Scope When I got the Astro Physics mount I was guiding with an SBIG ST-i Planetary Imaging camera with a 200mm lens on it. I was having tons of trouble with differential flexure. I just couldn't figure out why guiding was spot-on but my stars were oval. When the Santa Cruz gang was down at Borrego Springs for Nightfall 2014, I ran into a fellow from the Riverside club who got it all figured out. It turns out all I needed was more focal length for the guide camera. Here is my Explore Scientific 80mm Apochromatic Triplet Refractor guide scope with the SBIG ST-i on the back. The scope has an aperture of 80mm and 480mm of focal length. it required 480mm of back focus, thus the spacers. I'm now a very happy camper with fantastic guiding and nice round stars! Yay!!! Picture taken at GSSP 2015. |
SBIG STF-8300m and FW8
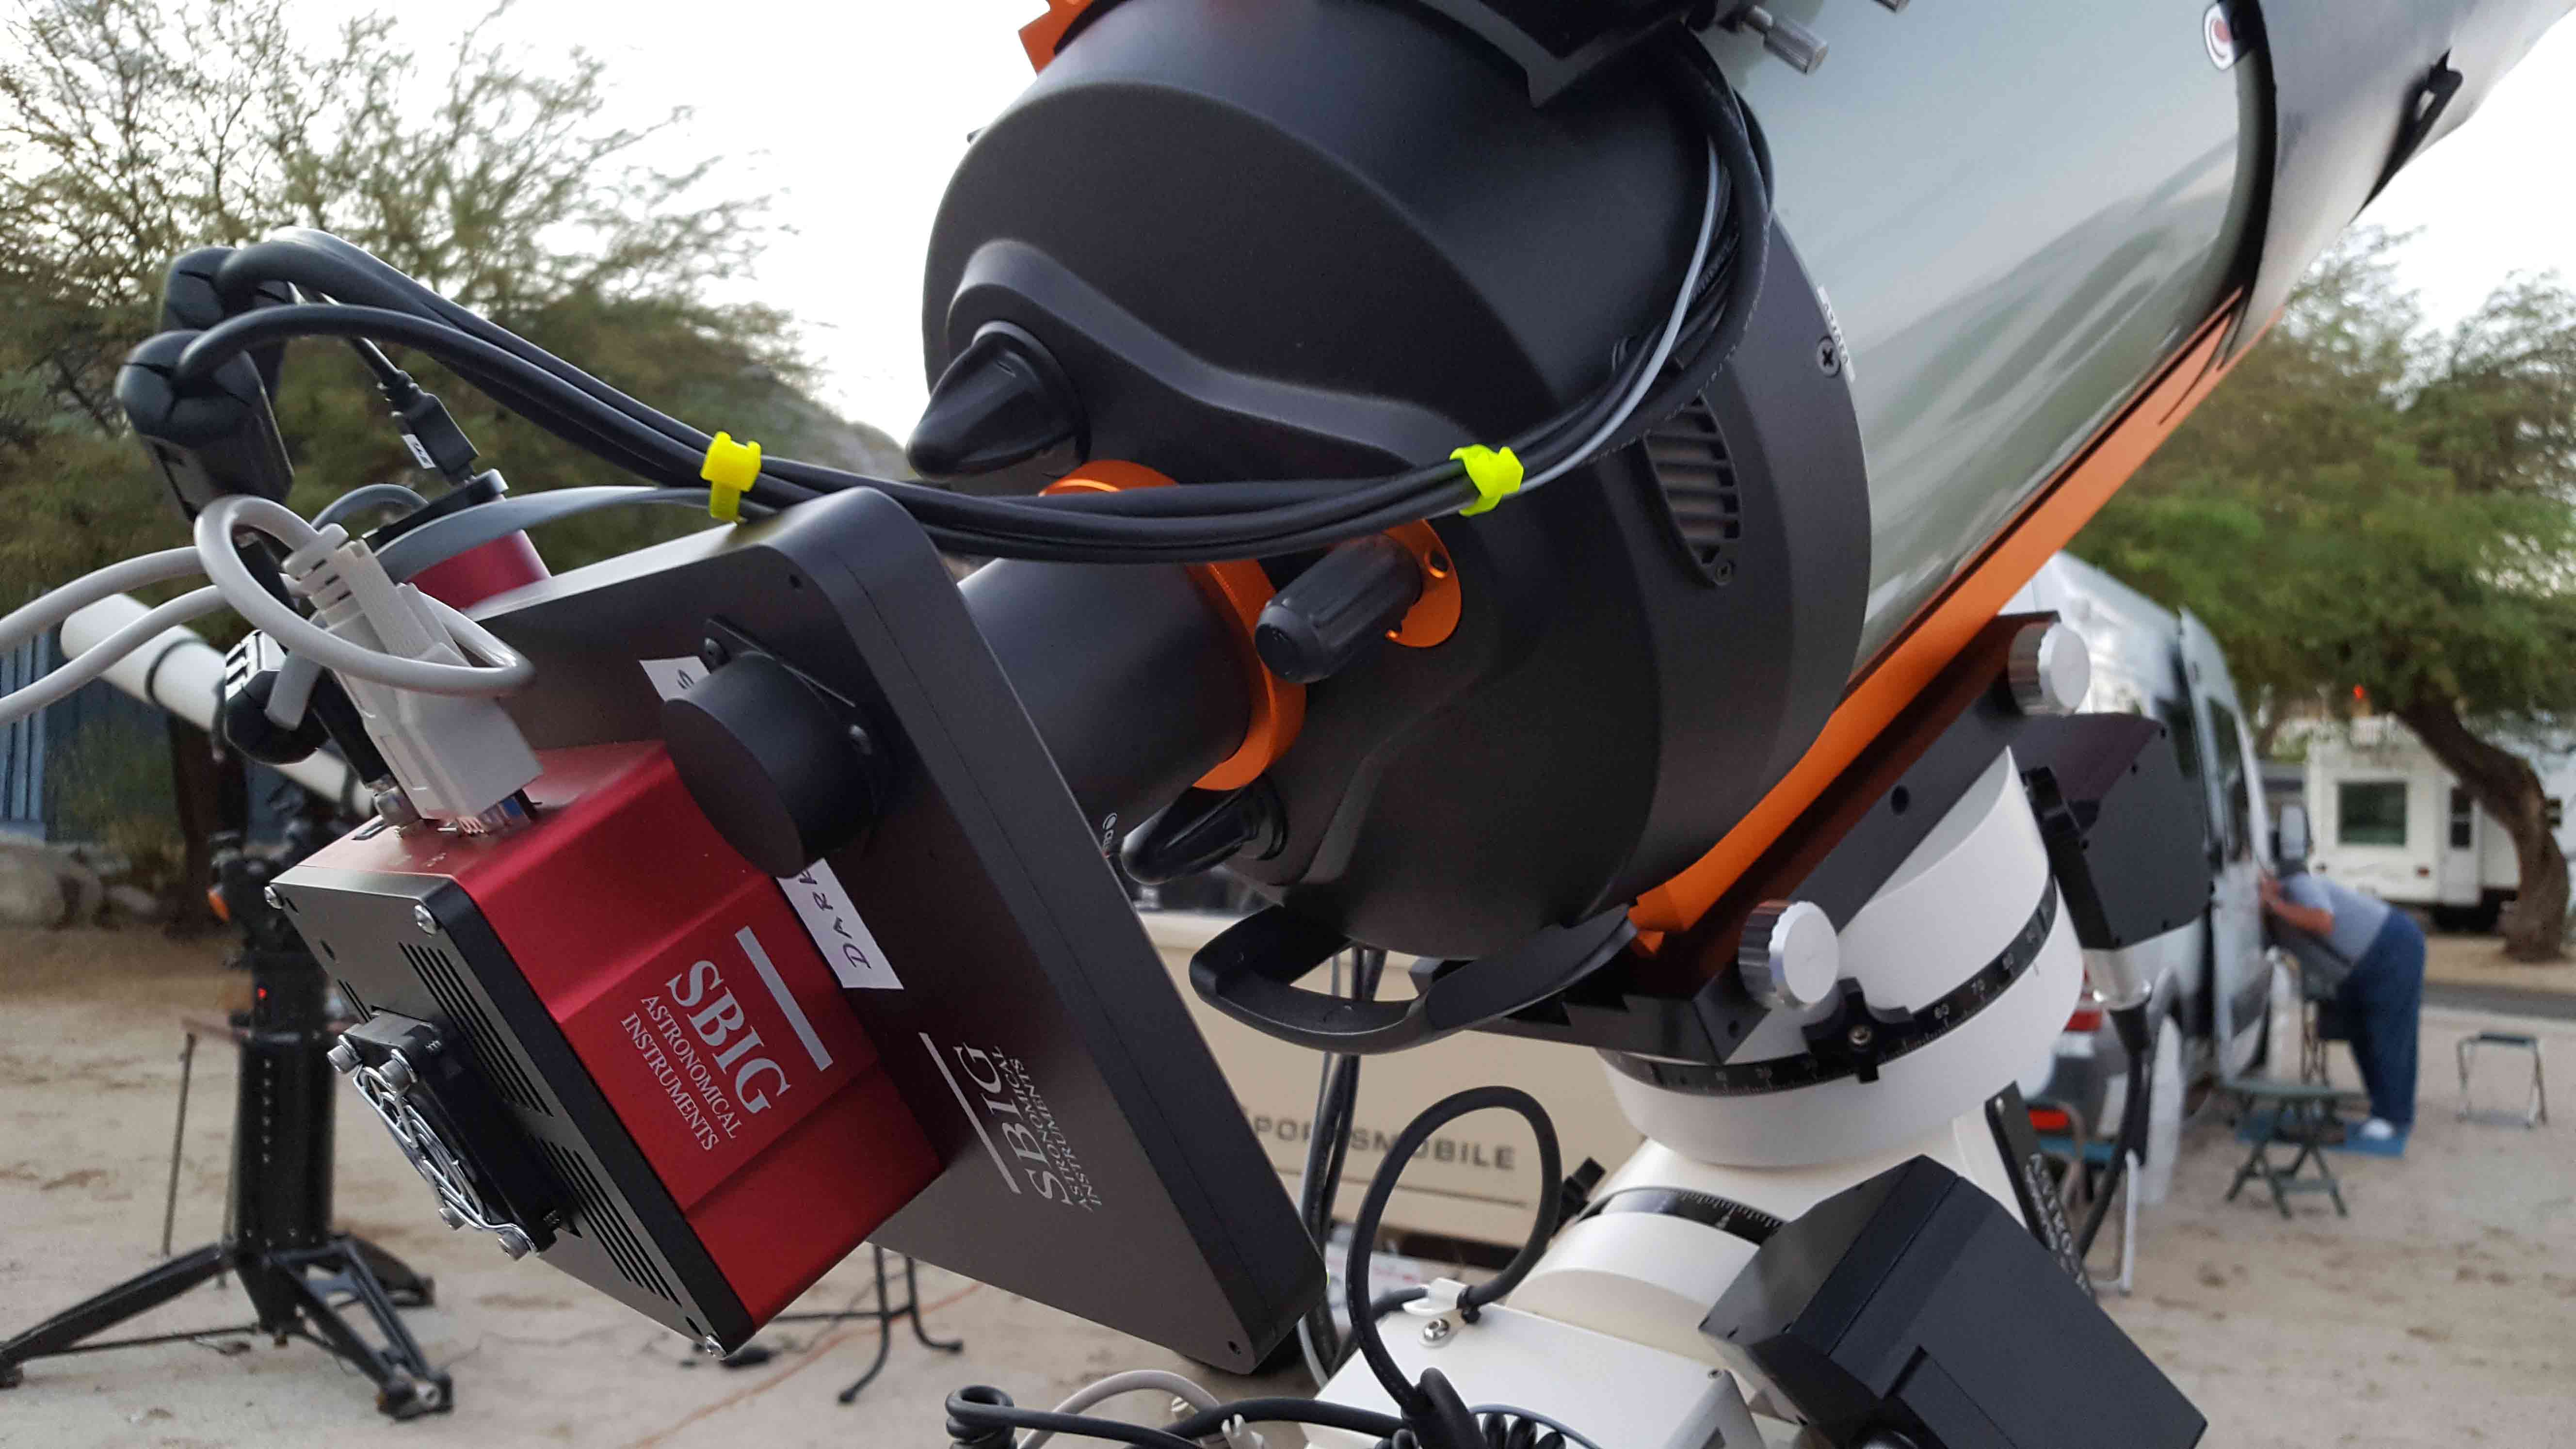
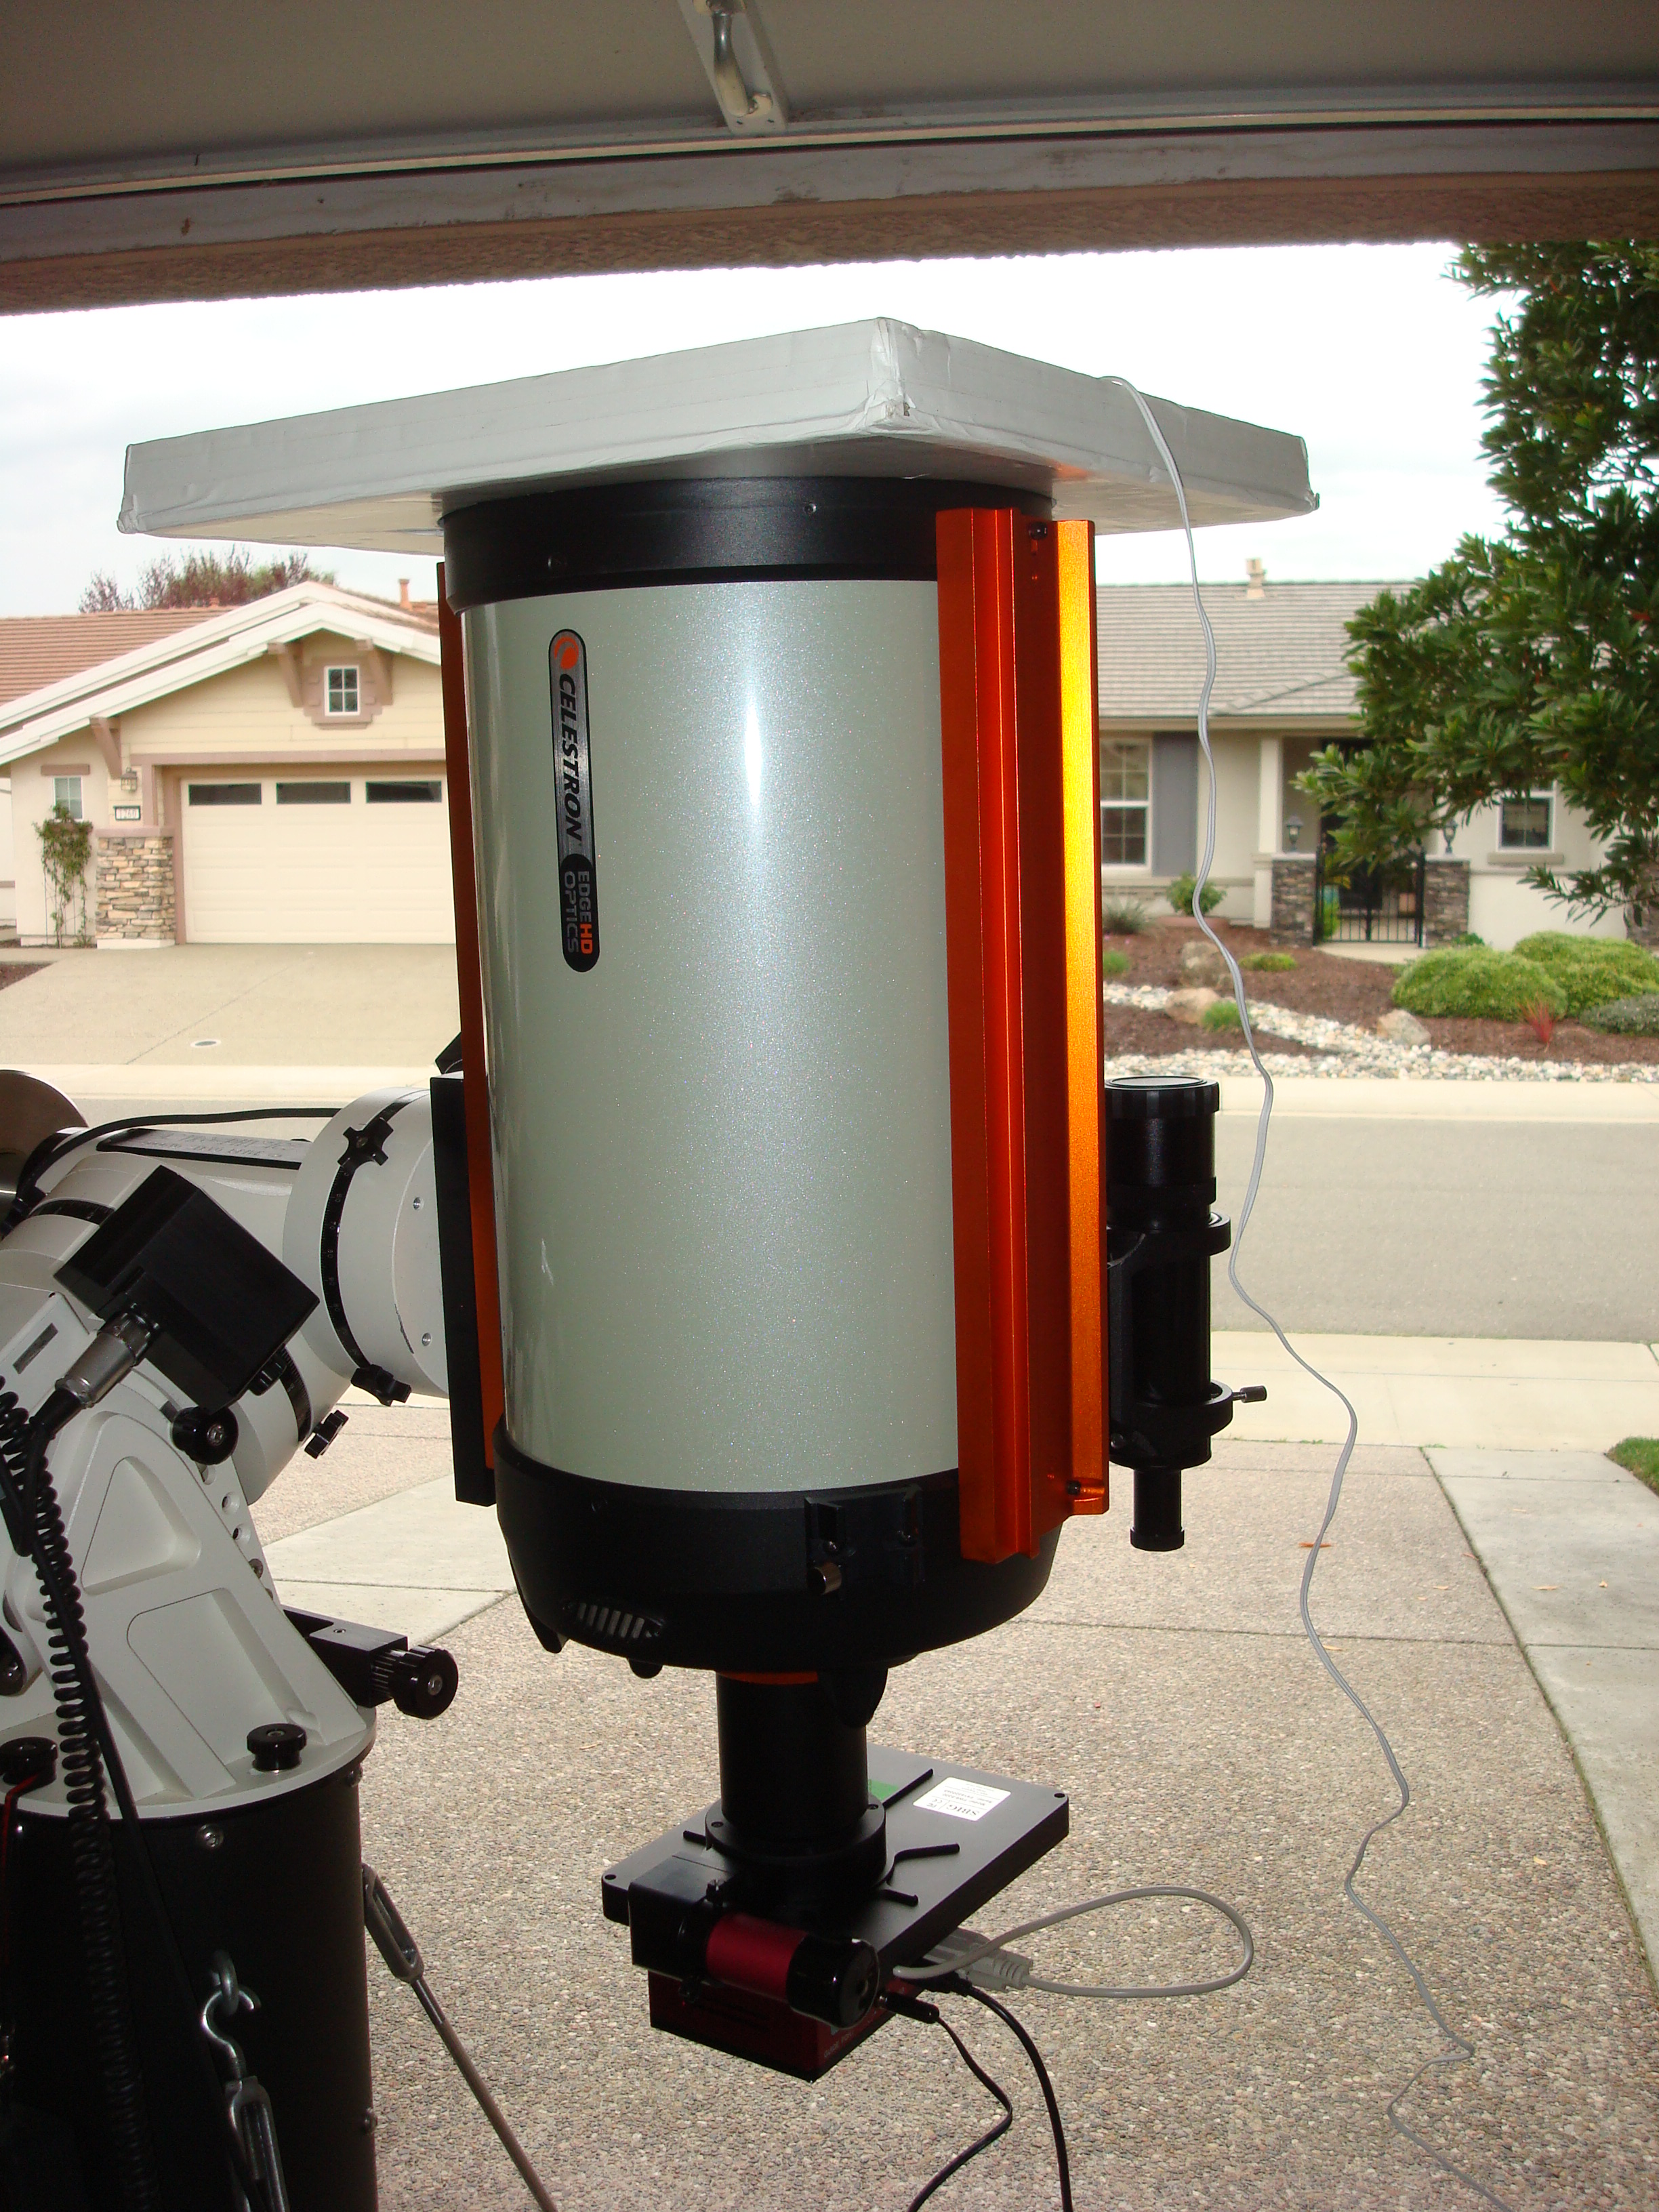
Filter Wheel In the spring of 2016 I finally decided to make the transition to a monochrome camera with a filter wheel. I got the SBIG STF-8300m with FW8-8300 filter wheel. A monochrome camera will give you a lot more resolution in your images along with requiring less exposure times per sub-frame. The only drawback compared to a One-Shot-Color camera is that you have to take an exposure for each colored filter. That means that getting enough sub-frames to make a nice image will require multiple nights imaging the same object. A small price to pay for the resolution increase. The camera also came with an Off-Axis Guider which will help in keeping the stars round. I'll probably keep the Explore Scientific guide scope on top for when an object doesn't have a suitable guide star nearby. In addition to the standard Red, Green and Blue filters I also added in Sulpher II, Oxygen III and Hydrogen Alpha filters. Once I get used to doing a few RGB images those other filters should really add some pizzazz to my images. |
Full Rig Here is shot of my entire rig, top to bottom. Way up on top is the light box which is used to shoot flat frames. It gives a uniform light sourse across the entire FOV. |
 |
 |
 |
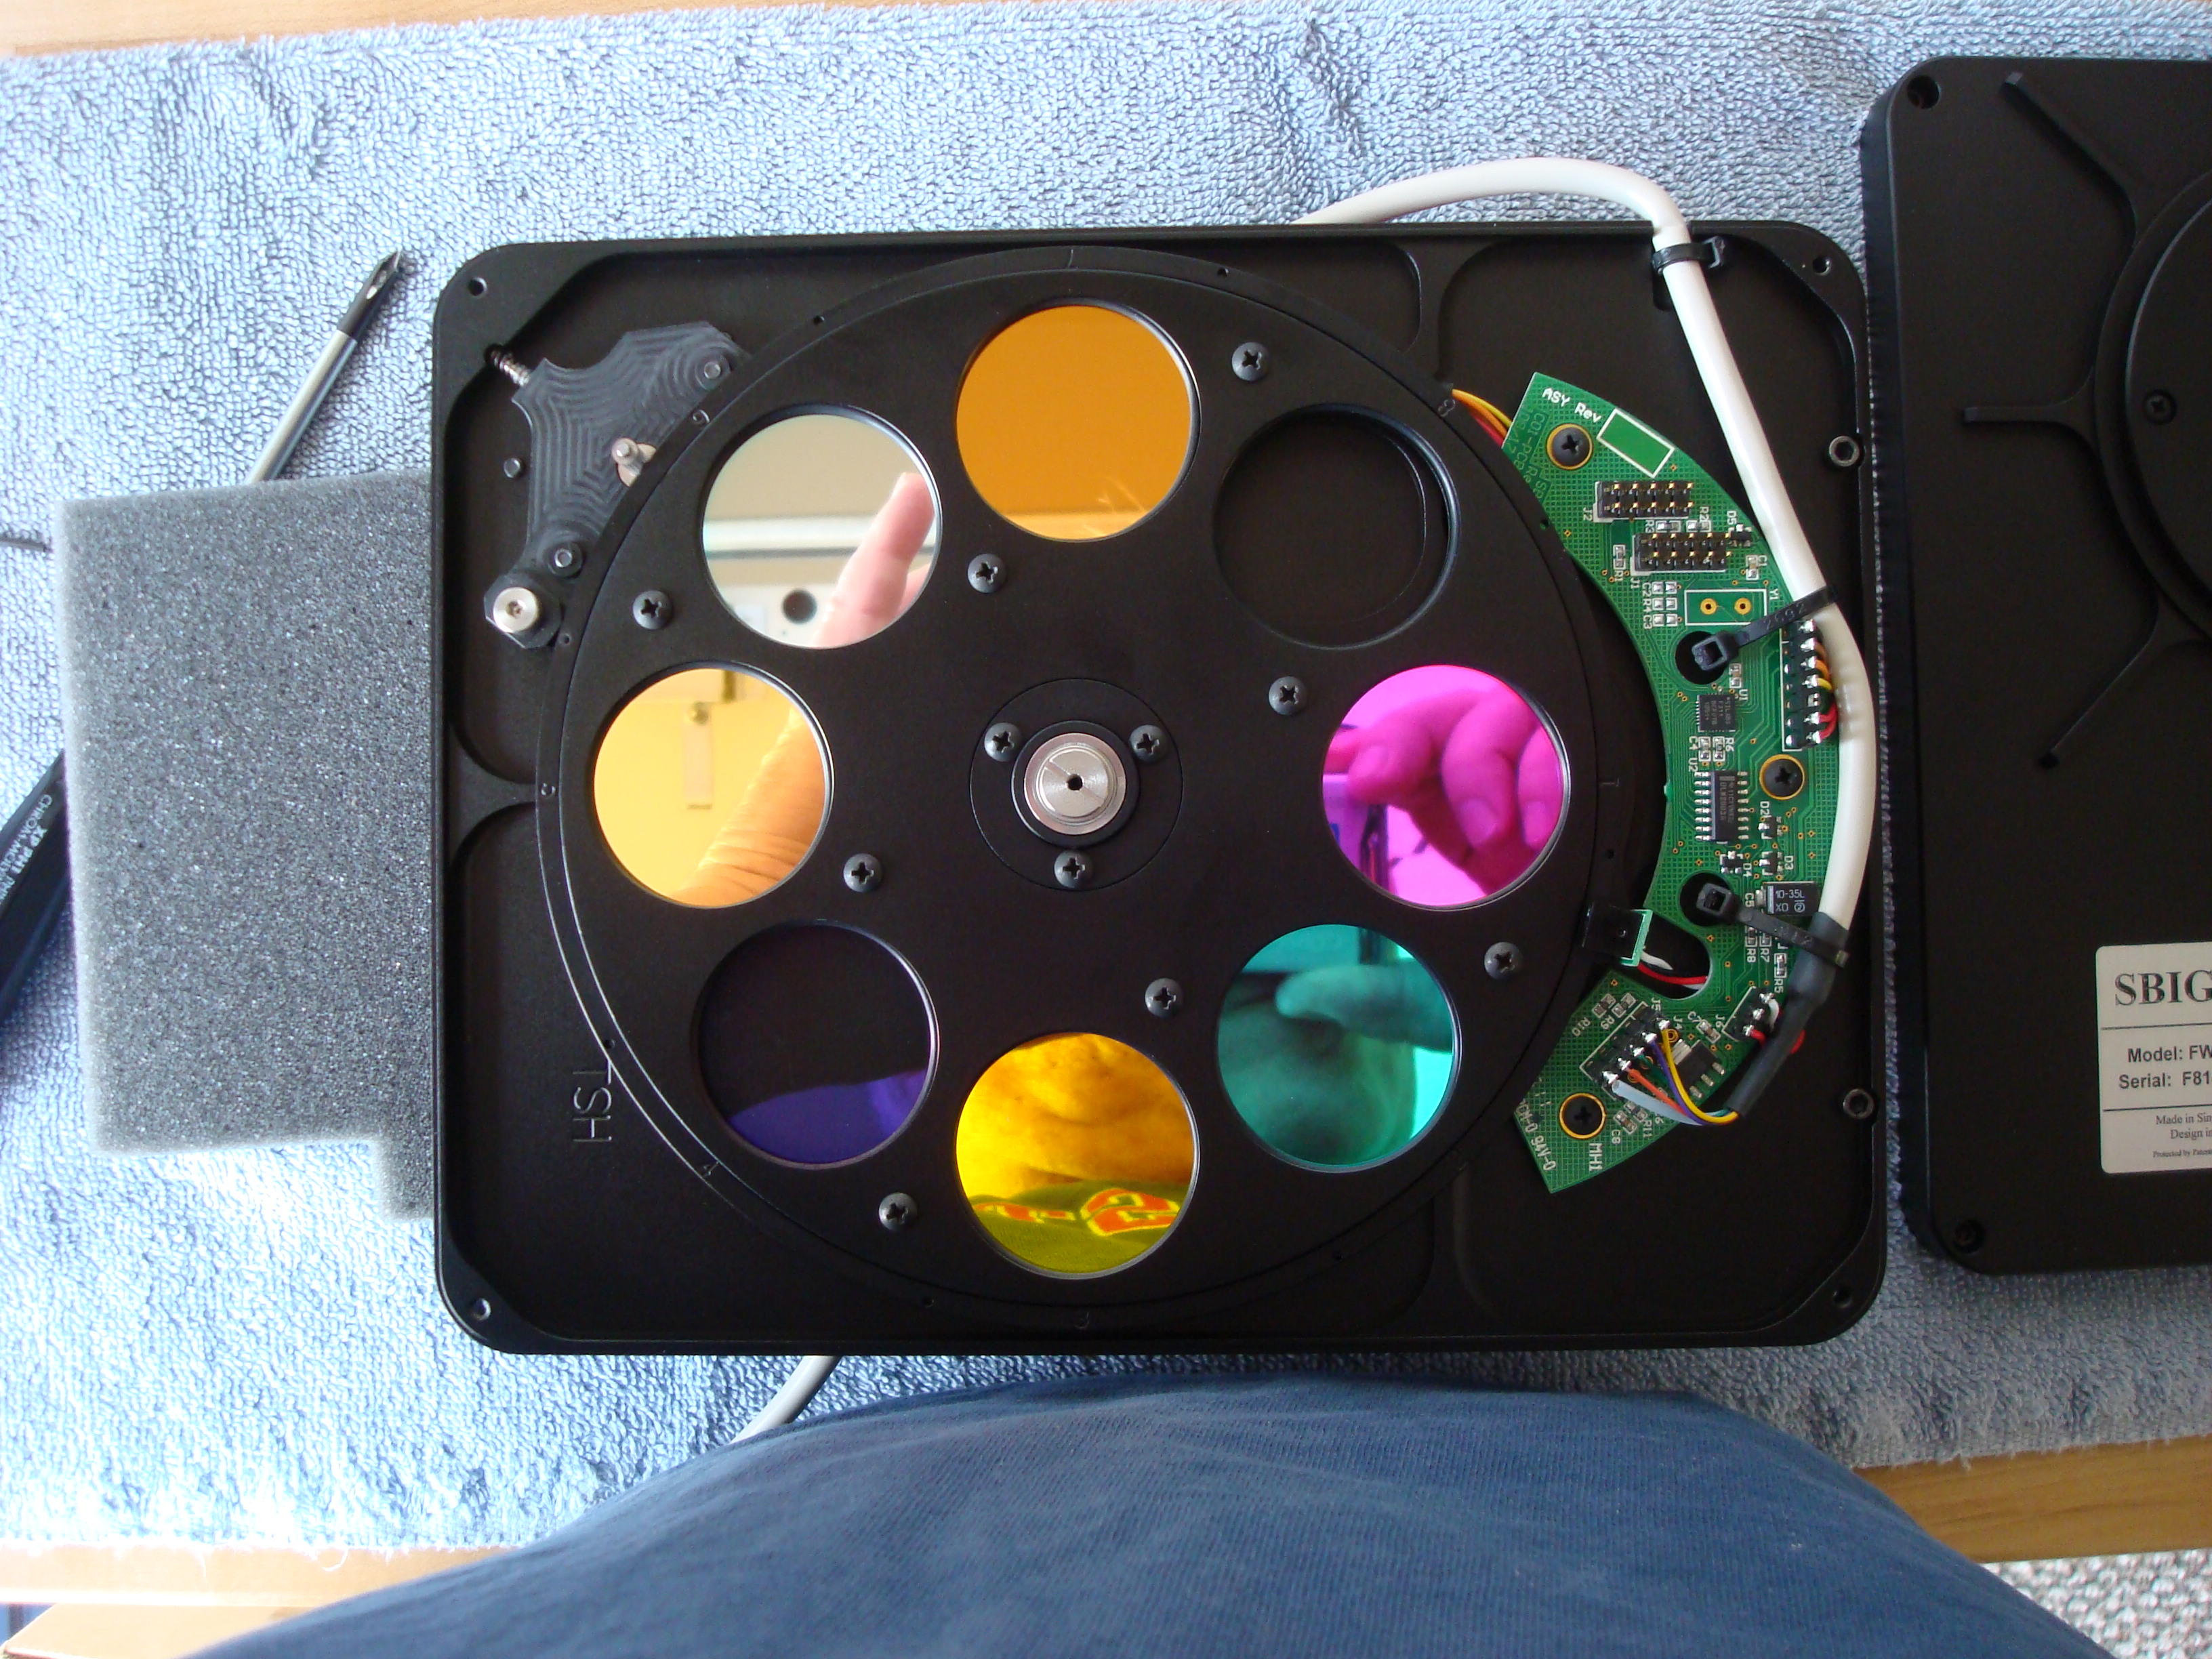
| FW8 Filter Wheel Along with the new camera I got a filter wheel as well. This is the interior of the filter wheel showing all the filters; Red, Green, Blue, Luminance, Ha(Hydrogen alpha), OIII (Oxygen 3) and SII (Sulpher 2). |
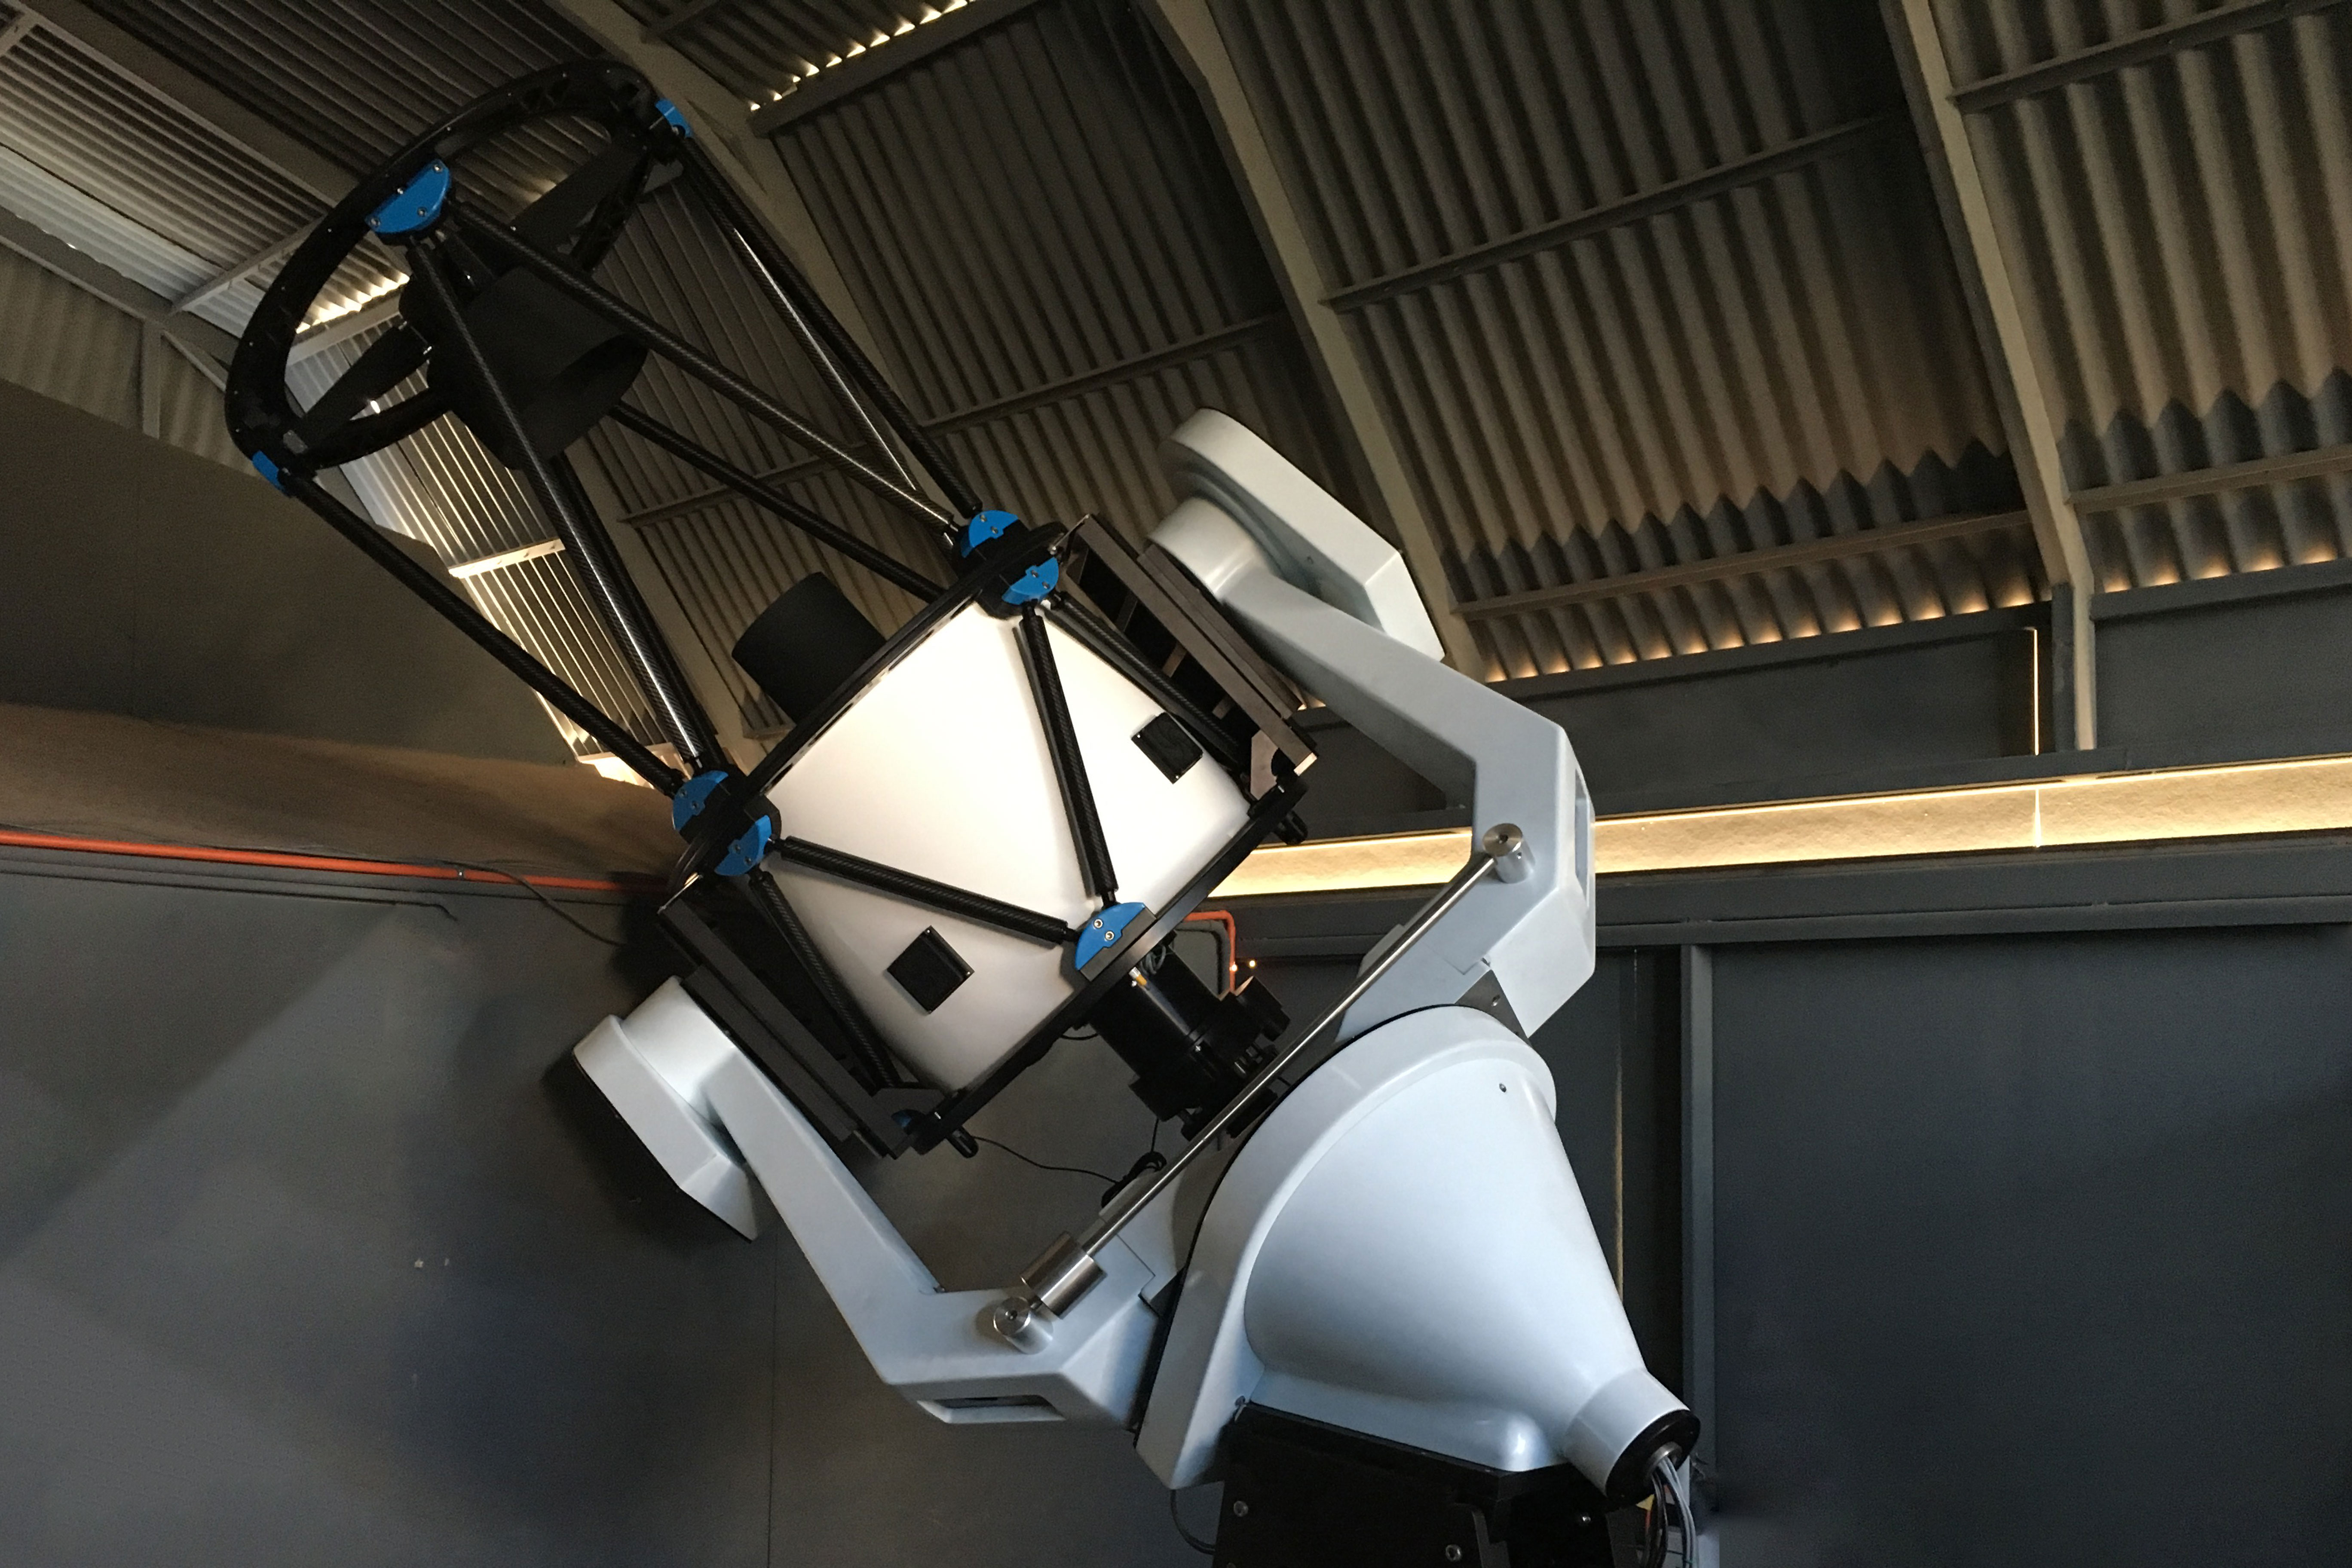
Telescope Live When I was at the Advanced Imaging Conference in San Jose back in 2019, I came across a new vendor, Telescope Live, a remote imaging start-up that is based in England. They offer telescopes for rent in Australia, Spain and Chile. I just program all of the parameters of the sub-frames for the object that I want, then download and process all of the data myself. All of the telescopes (10 total) and the data they produce are professional quality, which makes it a joy to process. All of the telescopes are fitted with LRGB and HSO filters. Here are the telescopes that I like to use the most. This first one is AUS-2 (Australia-2), a wide field telescope in Australia. Takahashi FSQ106 ED on a
ParamountMX+ mount.
The camera is a FLI PL16083.. |
Telescope
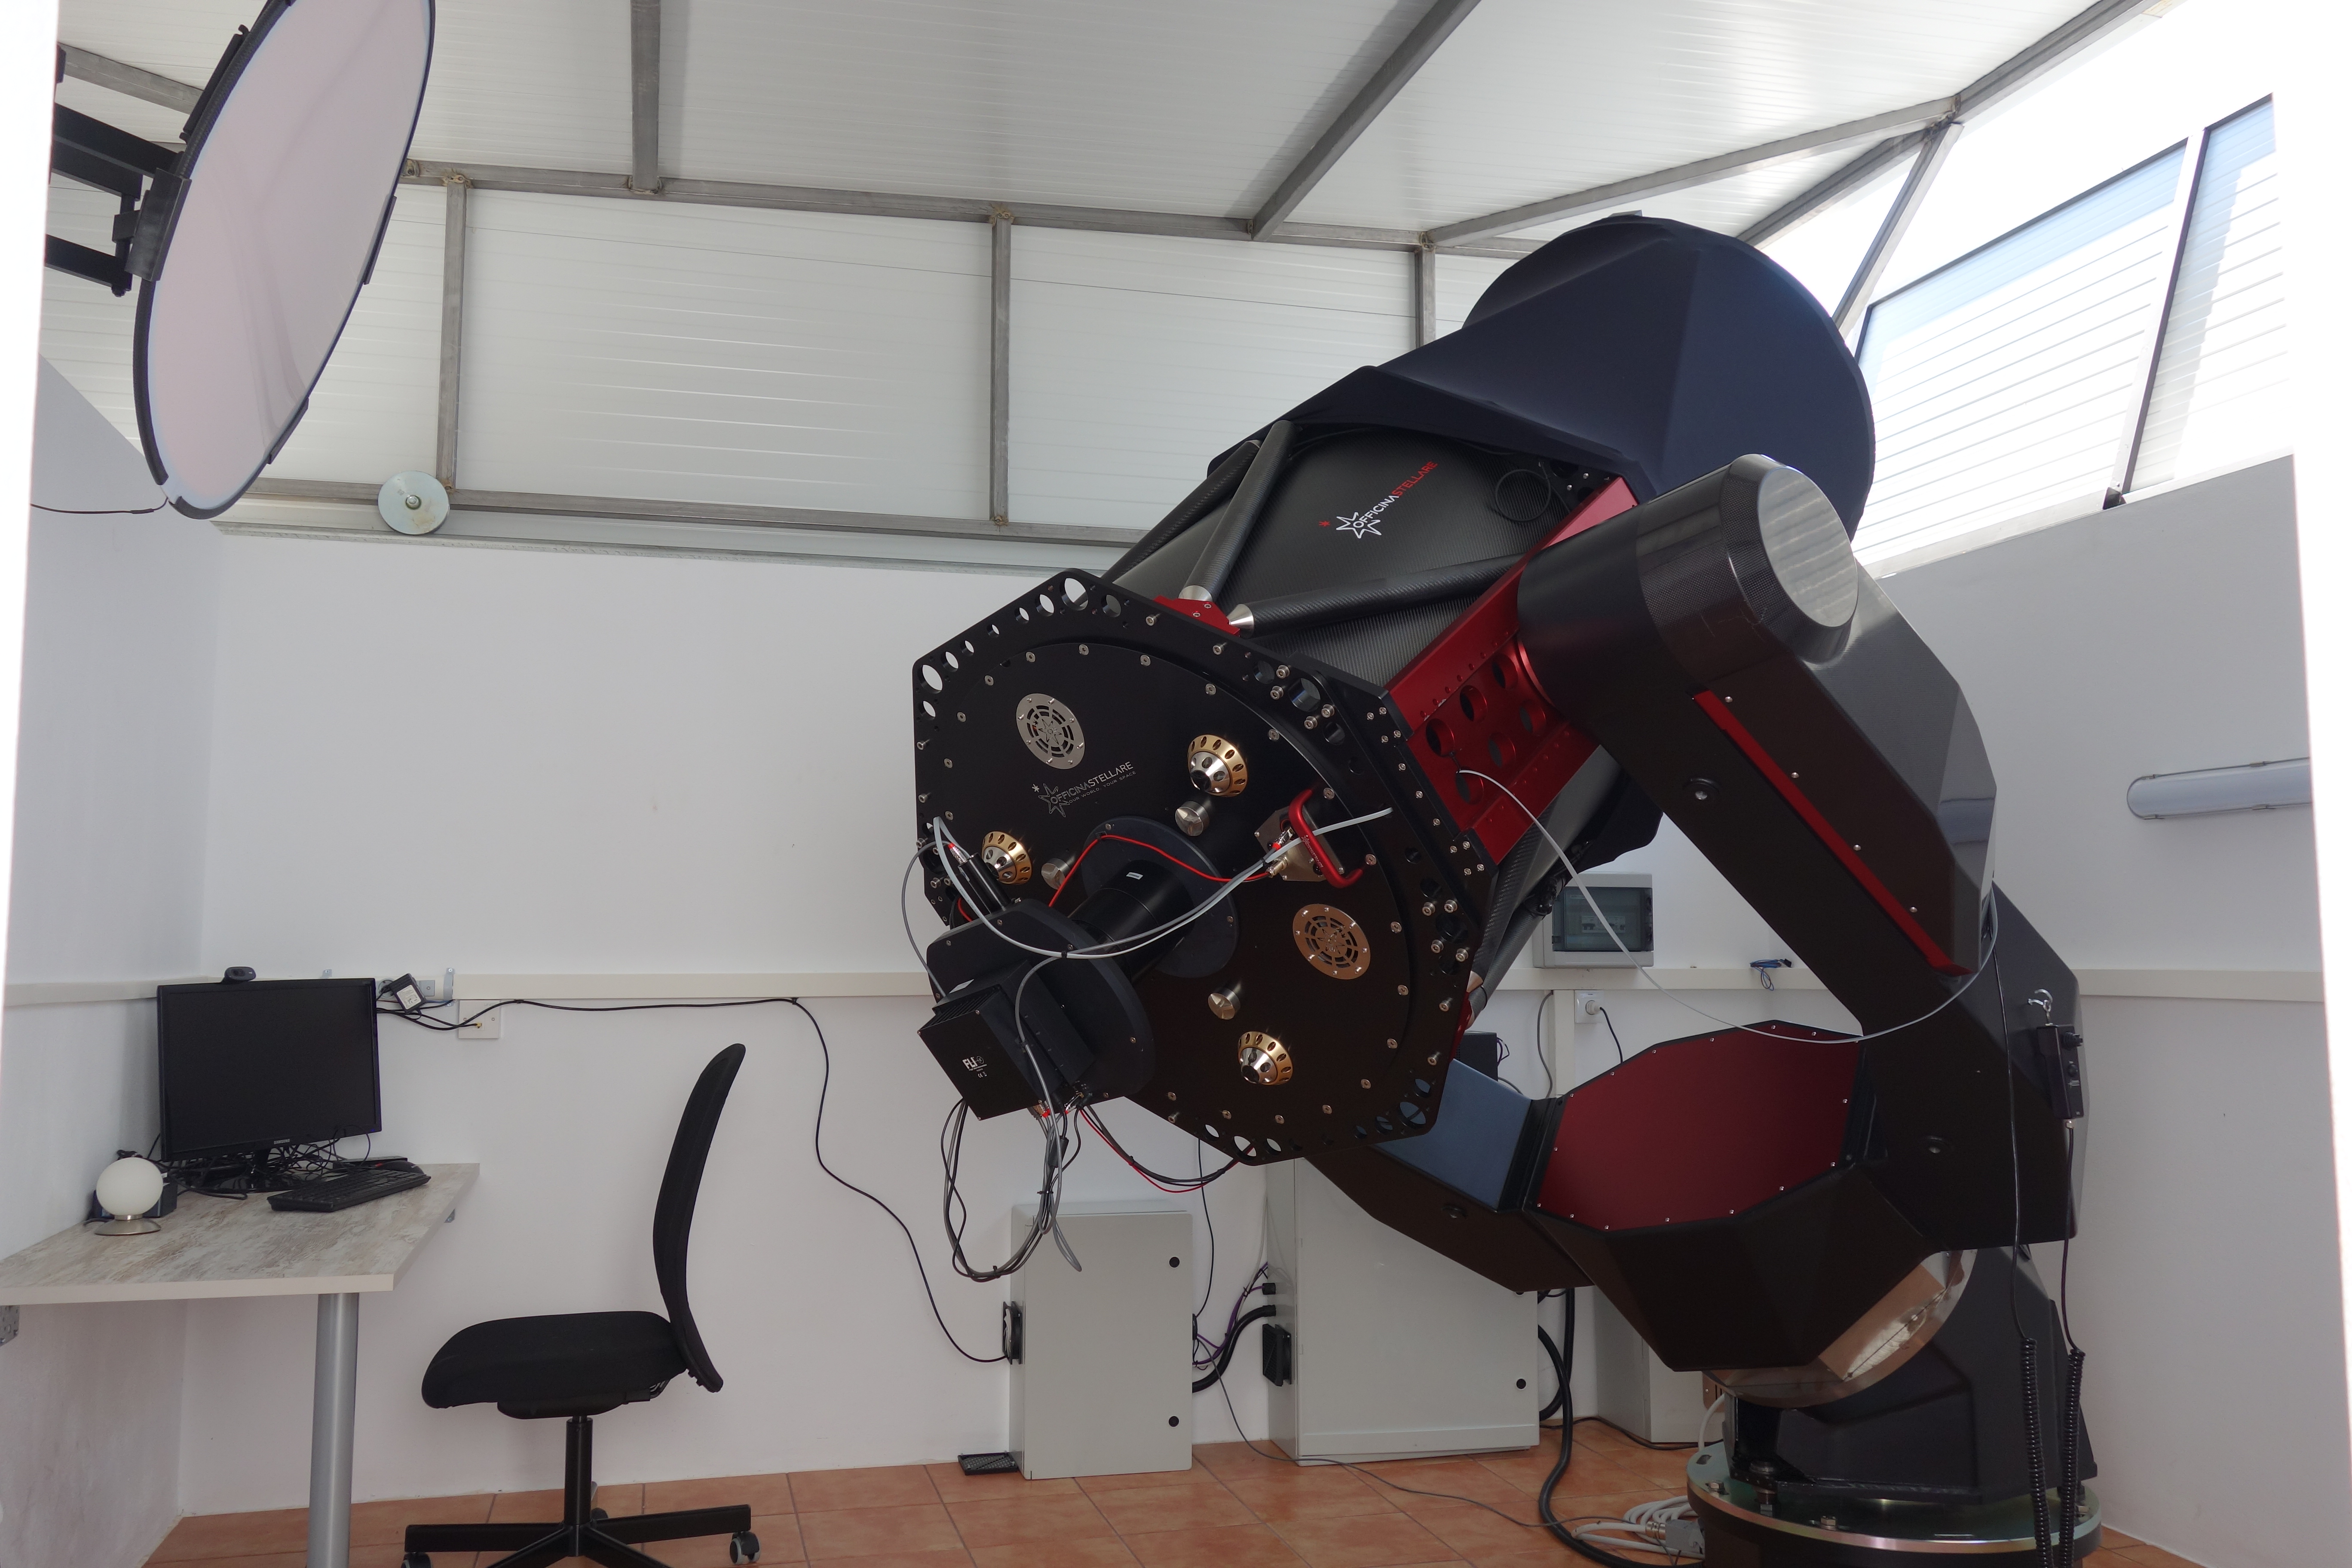
Live This next telescope is SPA-2 (Spain-2), a scope with a much tighter field of view than the one in Australia. This telescope is an Ofiicina Stellare 28" f/8 RC with an FLI PL 16893 camera. The mount is an Oficina equatorial fork mount. the Focal Length is 5600 mm (18'). |
 |
|
 |
